Overview
Potential Wor(l)ds is an experimental workshop
exploring the construction of language in sound, gesture and science
fiction.
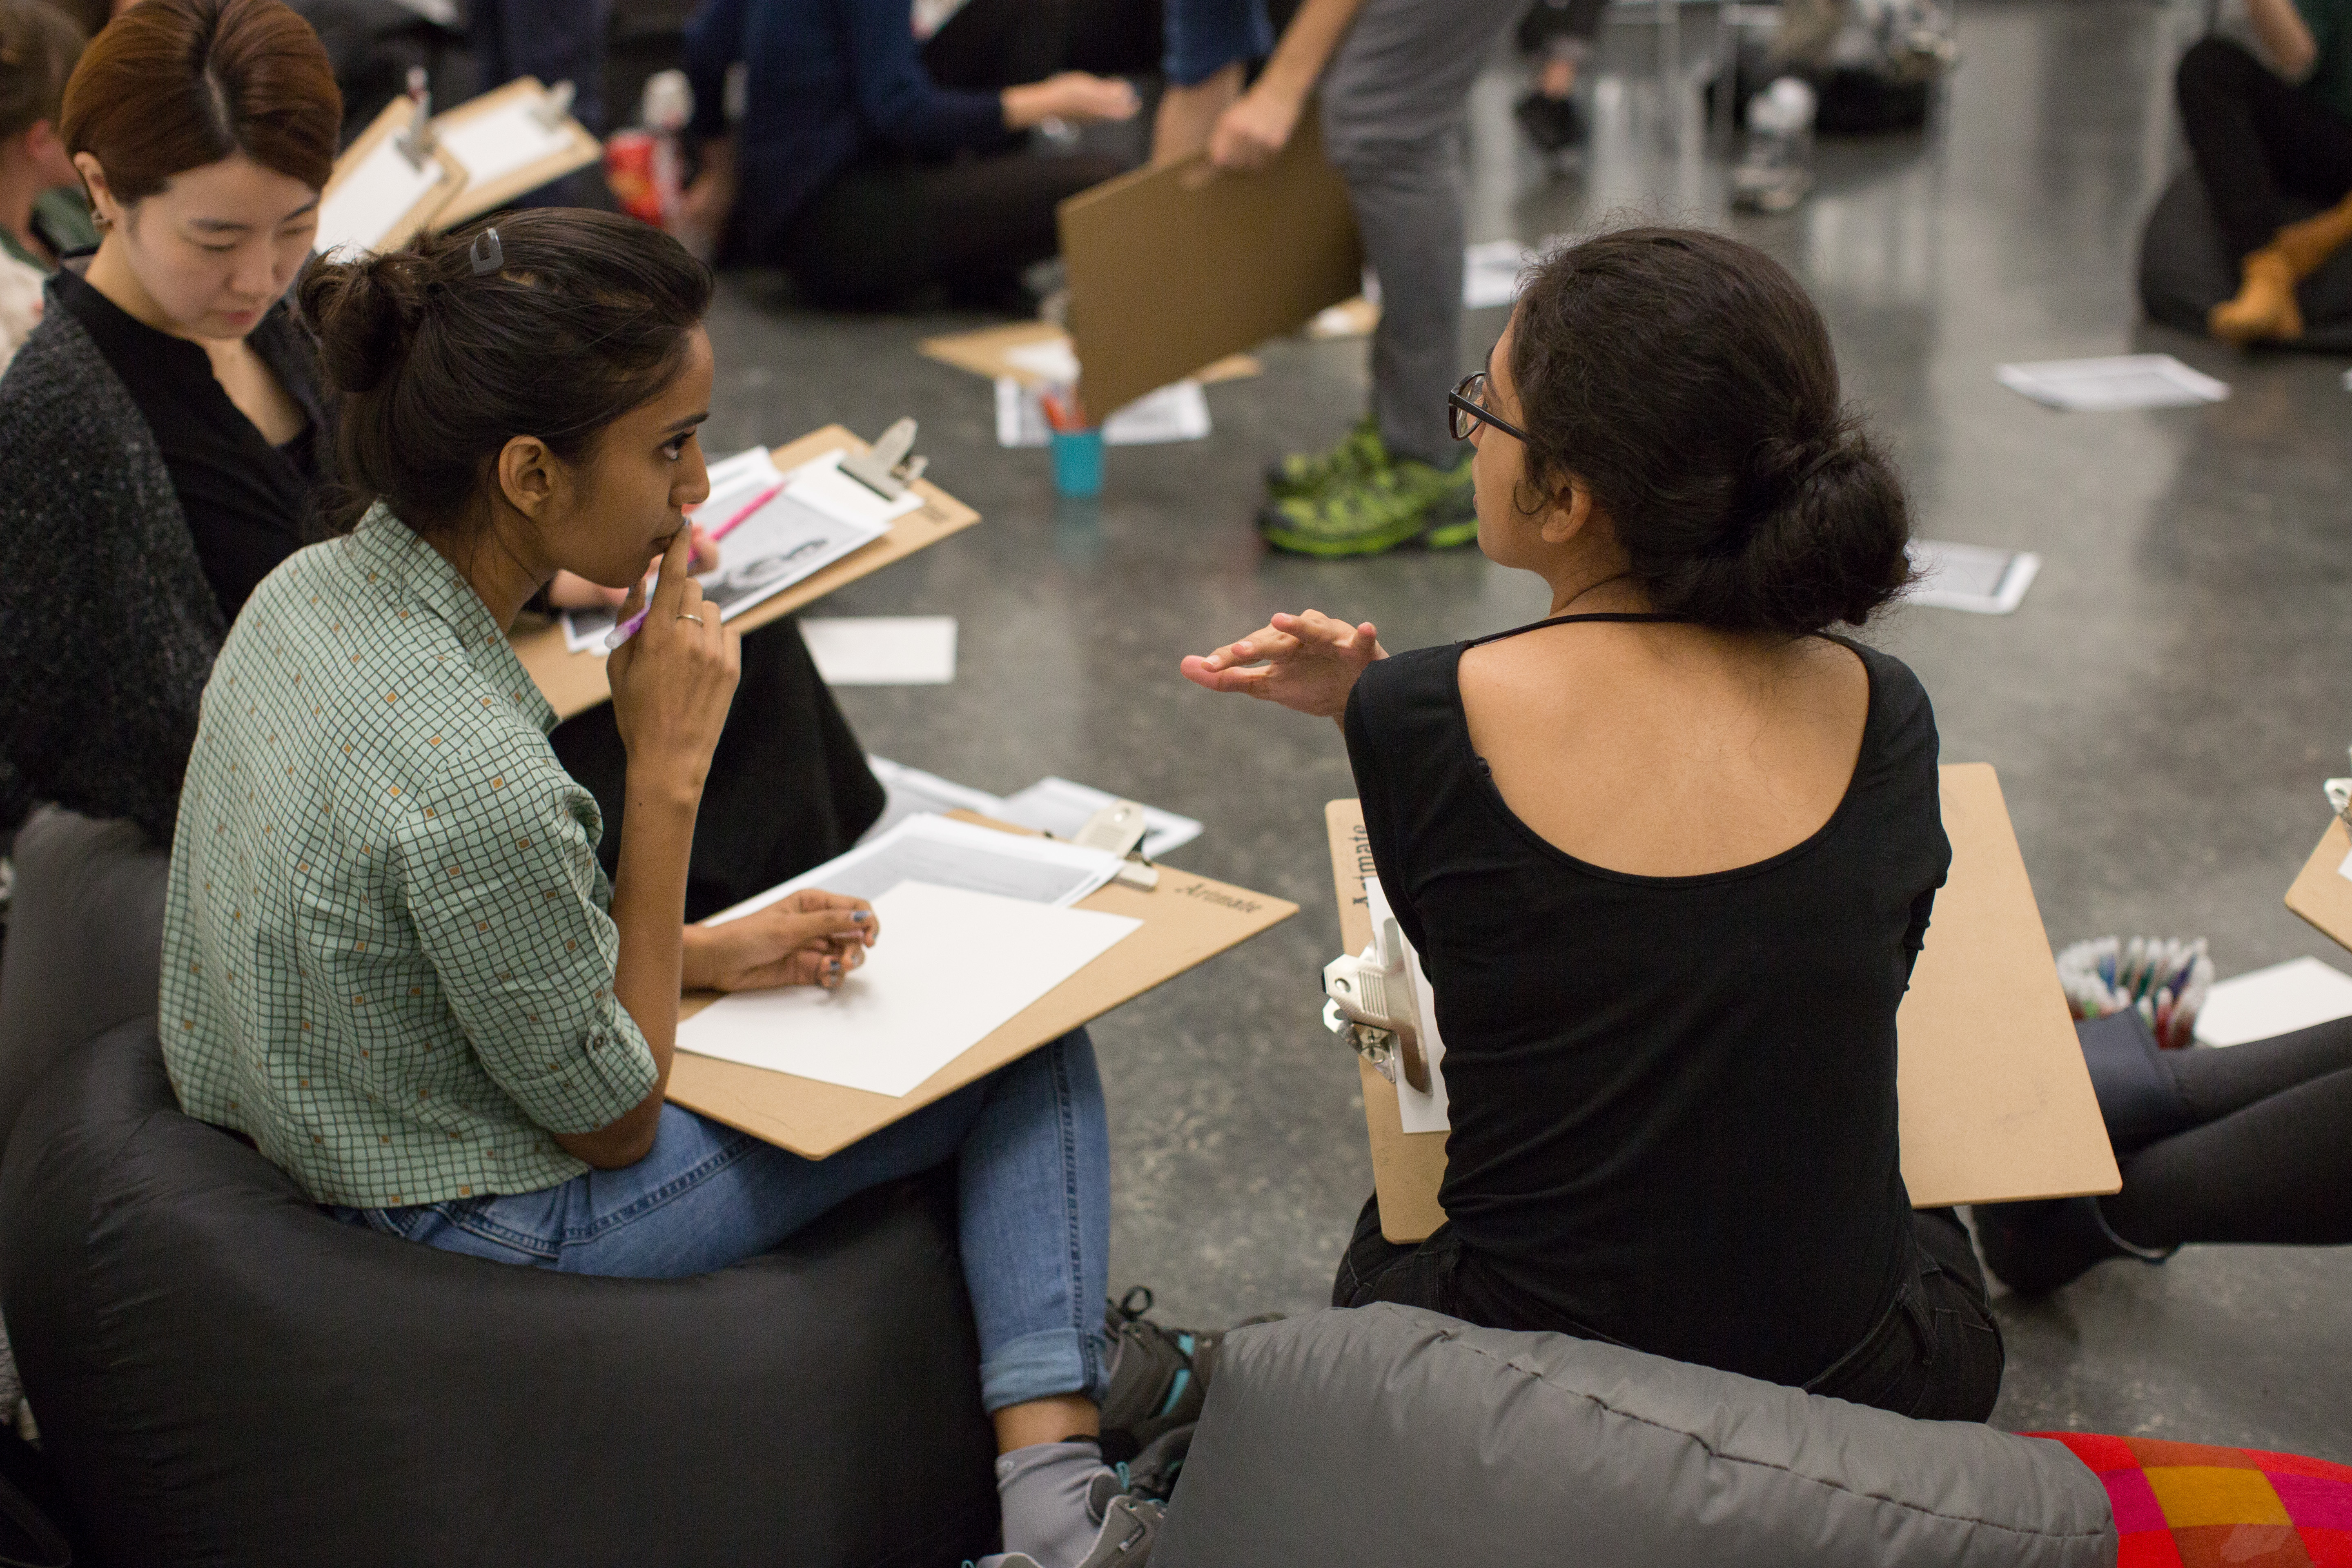
The first workshop was held at Bergen Kunsthall in August 2018, where we worked with 25 participants over two hours. In Bergen, two informal follow-up sessions allowed space for further development and discussion. A revised version was held at Lighthouse Brighton in April 2019, where a discussion over lunch was followed by a 2-hour workshop for 13 participants. At The Studio School in Liverpool, we worked with 8 students for a 2.5-hour workshop session. For Sonic Acts Academy, we developed an extended 4-hour workshop for 20 participants.
This page is a document of our project, and also a resource made available to facilitate or inspire similar events. You can download a pdf here.
Introduction
The workshop will begin with an introduction to the constructed feminist language Láadan. Finding herself unable to express certain ideas and emotions in English, Láadan’s creator Suzette Haden Elgin wanted to make space for new words and ways of communicating. These ‘potential wor(l)ds’ will form the basis of this workshop. We will experiment with contact mics, found objects, drawing and our own bodies to create a collective vocabulary, using printmaking to create a visual as well as sonic record of the new words we construct. Focusing on sound/gestures of drawing as tools for communication, together we will try to move from more traditional modes of communication, using a dominant language like English, to a more experimental, collaborative kind of expression.
Prompts for group discussion
Let’s introduce ourselves by sharing our name and what languages we use. What is your relation to these languages (i.e. mother tongue, learned at school, learned because of a partner)? Is this a language that you read, speak, write, understand but not speak etc.? How do you use your languages?
Introducing Láadan
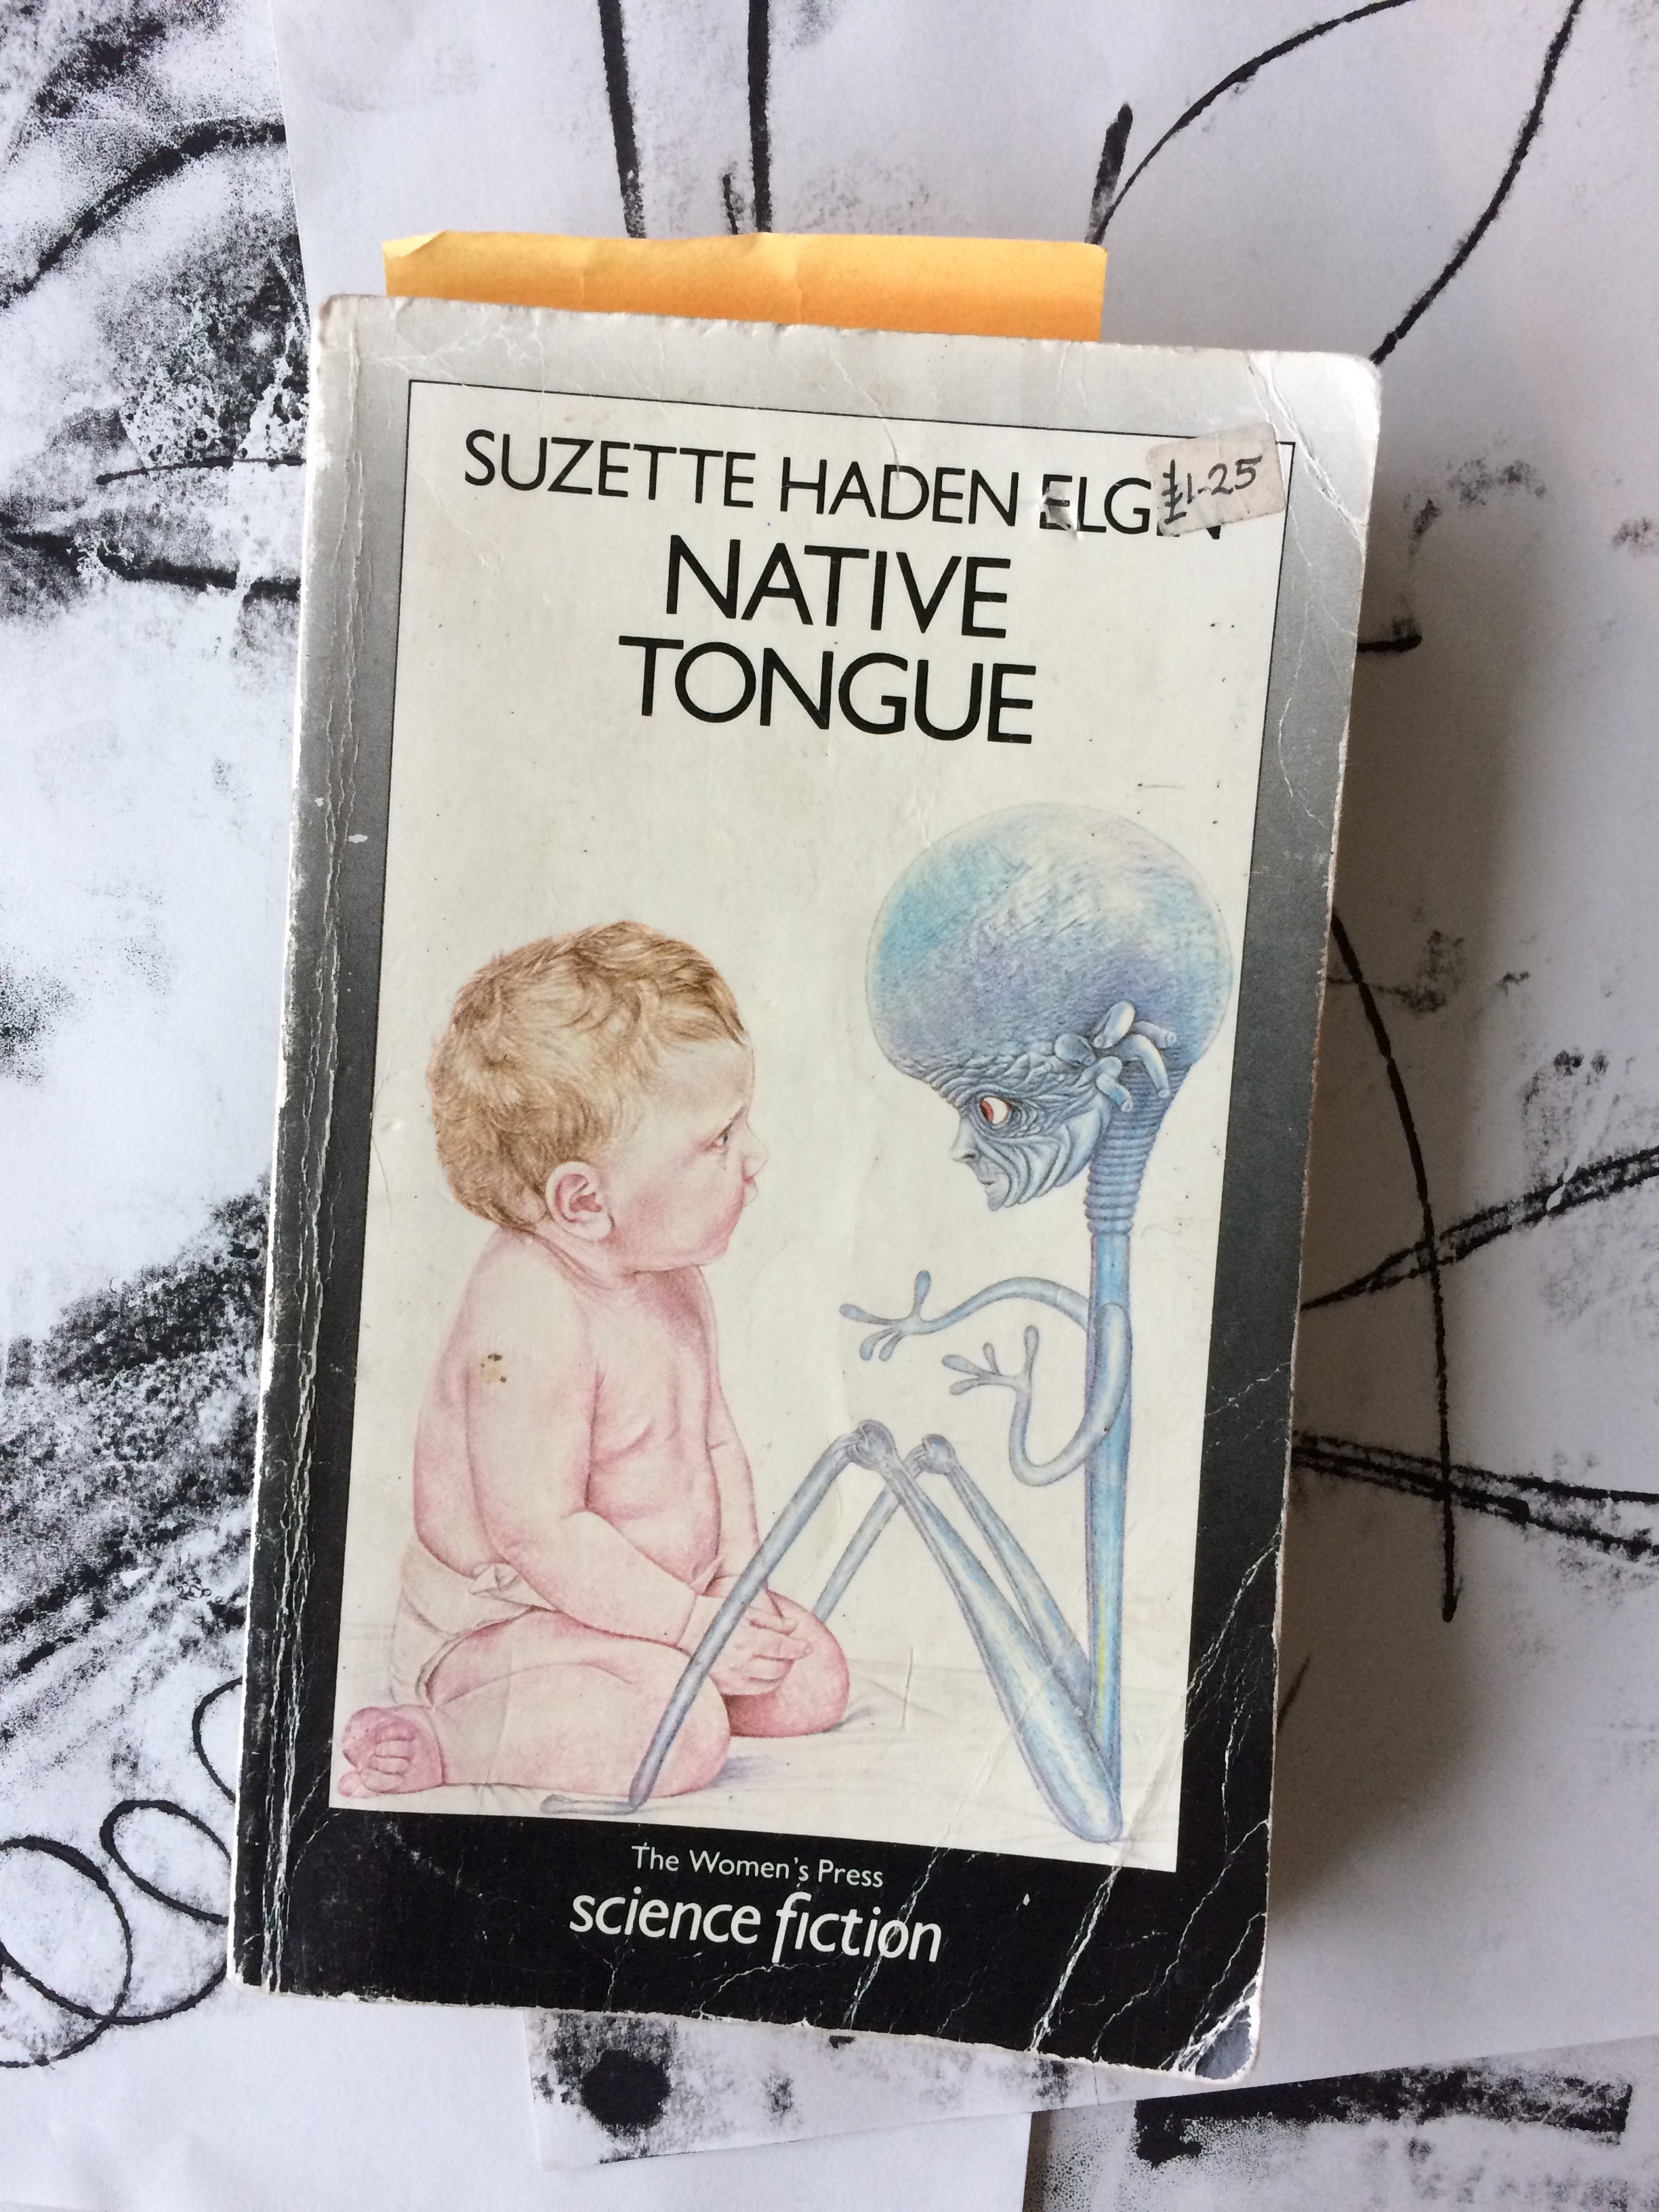
Láadan is a feminist language, created by American linguist and science fiction writer Suzette Haden Elgin in 1982.
Elgin used SF as a vehicle for her Láadan experiment. The language is central to her Native Tongue trilogy, published between 1984 and 1994. During this period, Láadan developed beyond the storyworld of Elgin’s novels through language workshops, instructional cassettes and dictionaries circulated among hundreds of subscribers to the Láadan directory.
From the beginning, Elgin encouraged fans to contribute new words to this developing lexicon, stating that: ‘Láadan is not “my” language; it is a language constructed by one woman for all women who might want to use it as a model to help them construct a better one. It was made to be used, and I will be pleased to see it used.’
Elgin expected the Láadan network (which, it is important to note, was not exclusive to women) to bring their own experiences to bear on the growing, changing vocabulary of this constructed language, and she offered extensive and generous guidance for to those wishing to contribute words to Láadan.
If you want to find out more about Láadan, you may find the following resources useful:
Láadan Language
Láadan Club
Láadan Wikibook

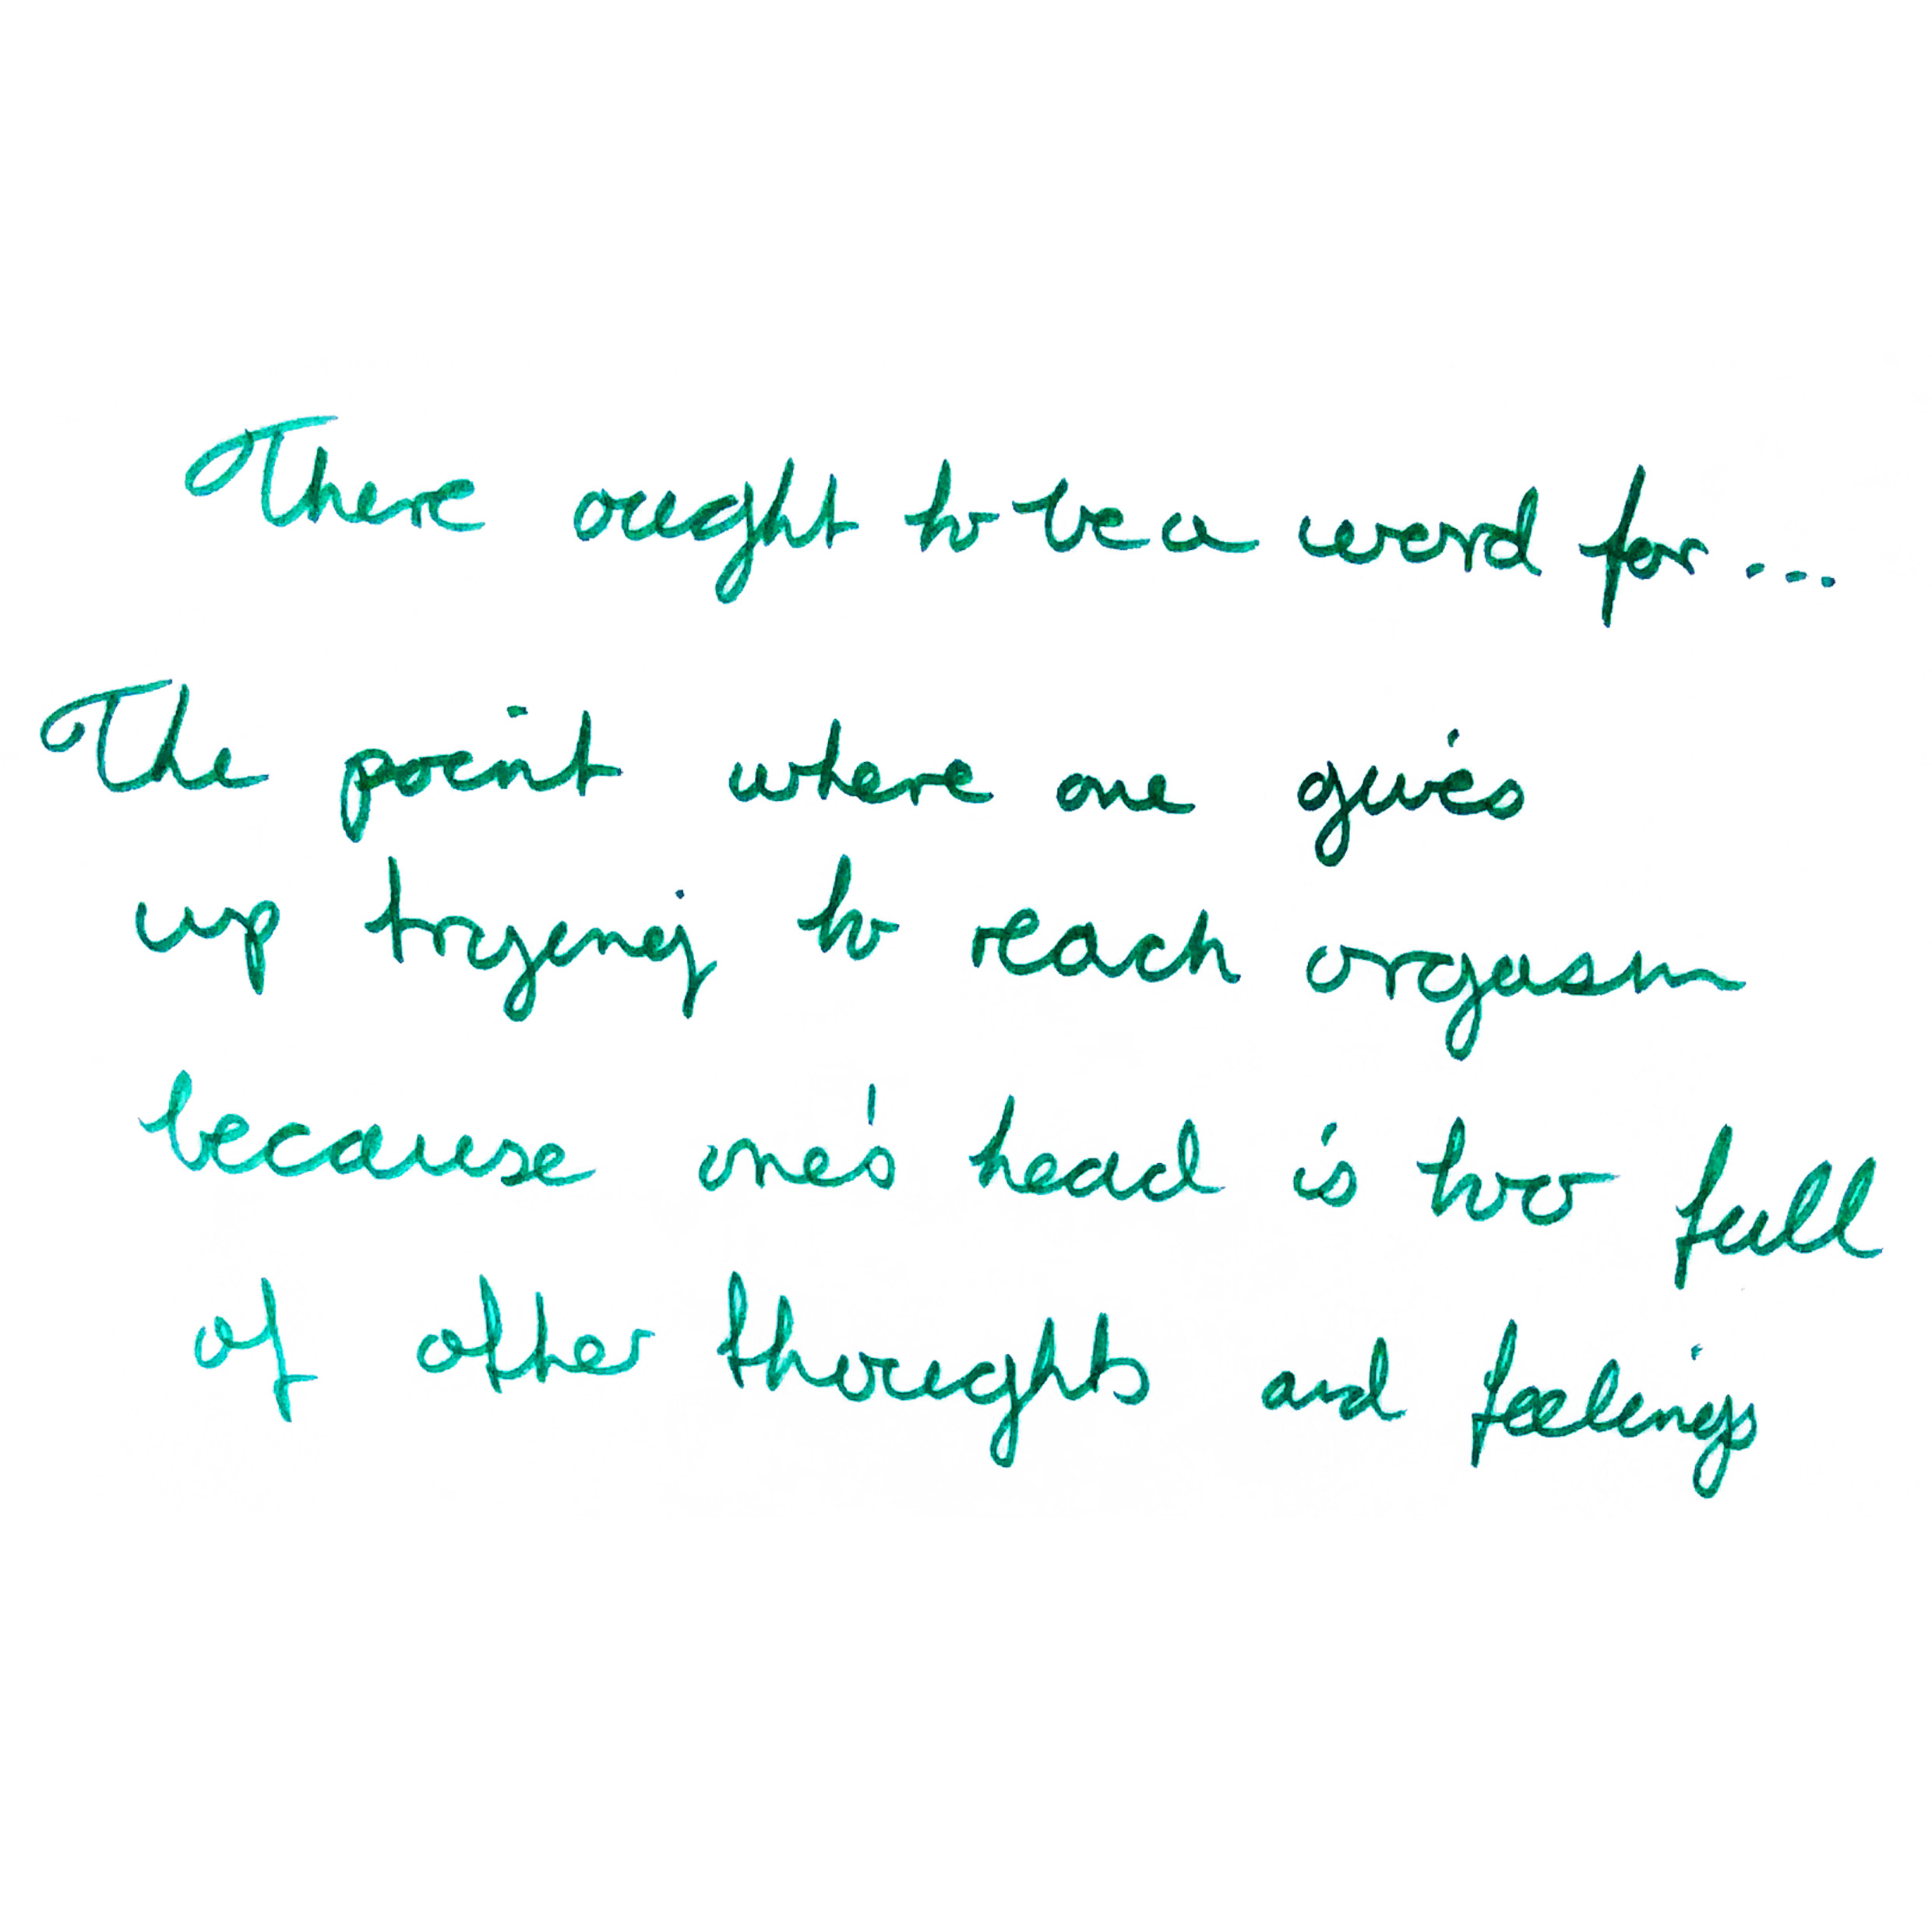
There ought to be a word...
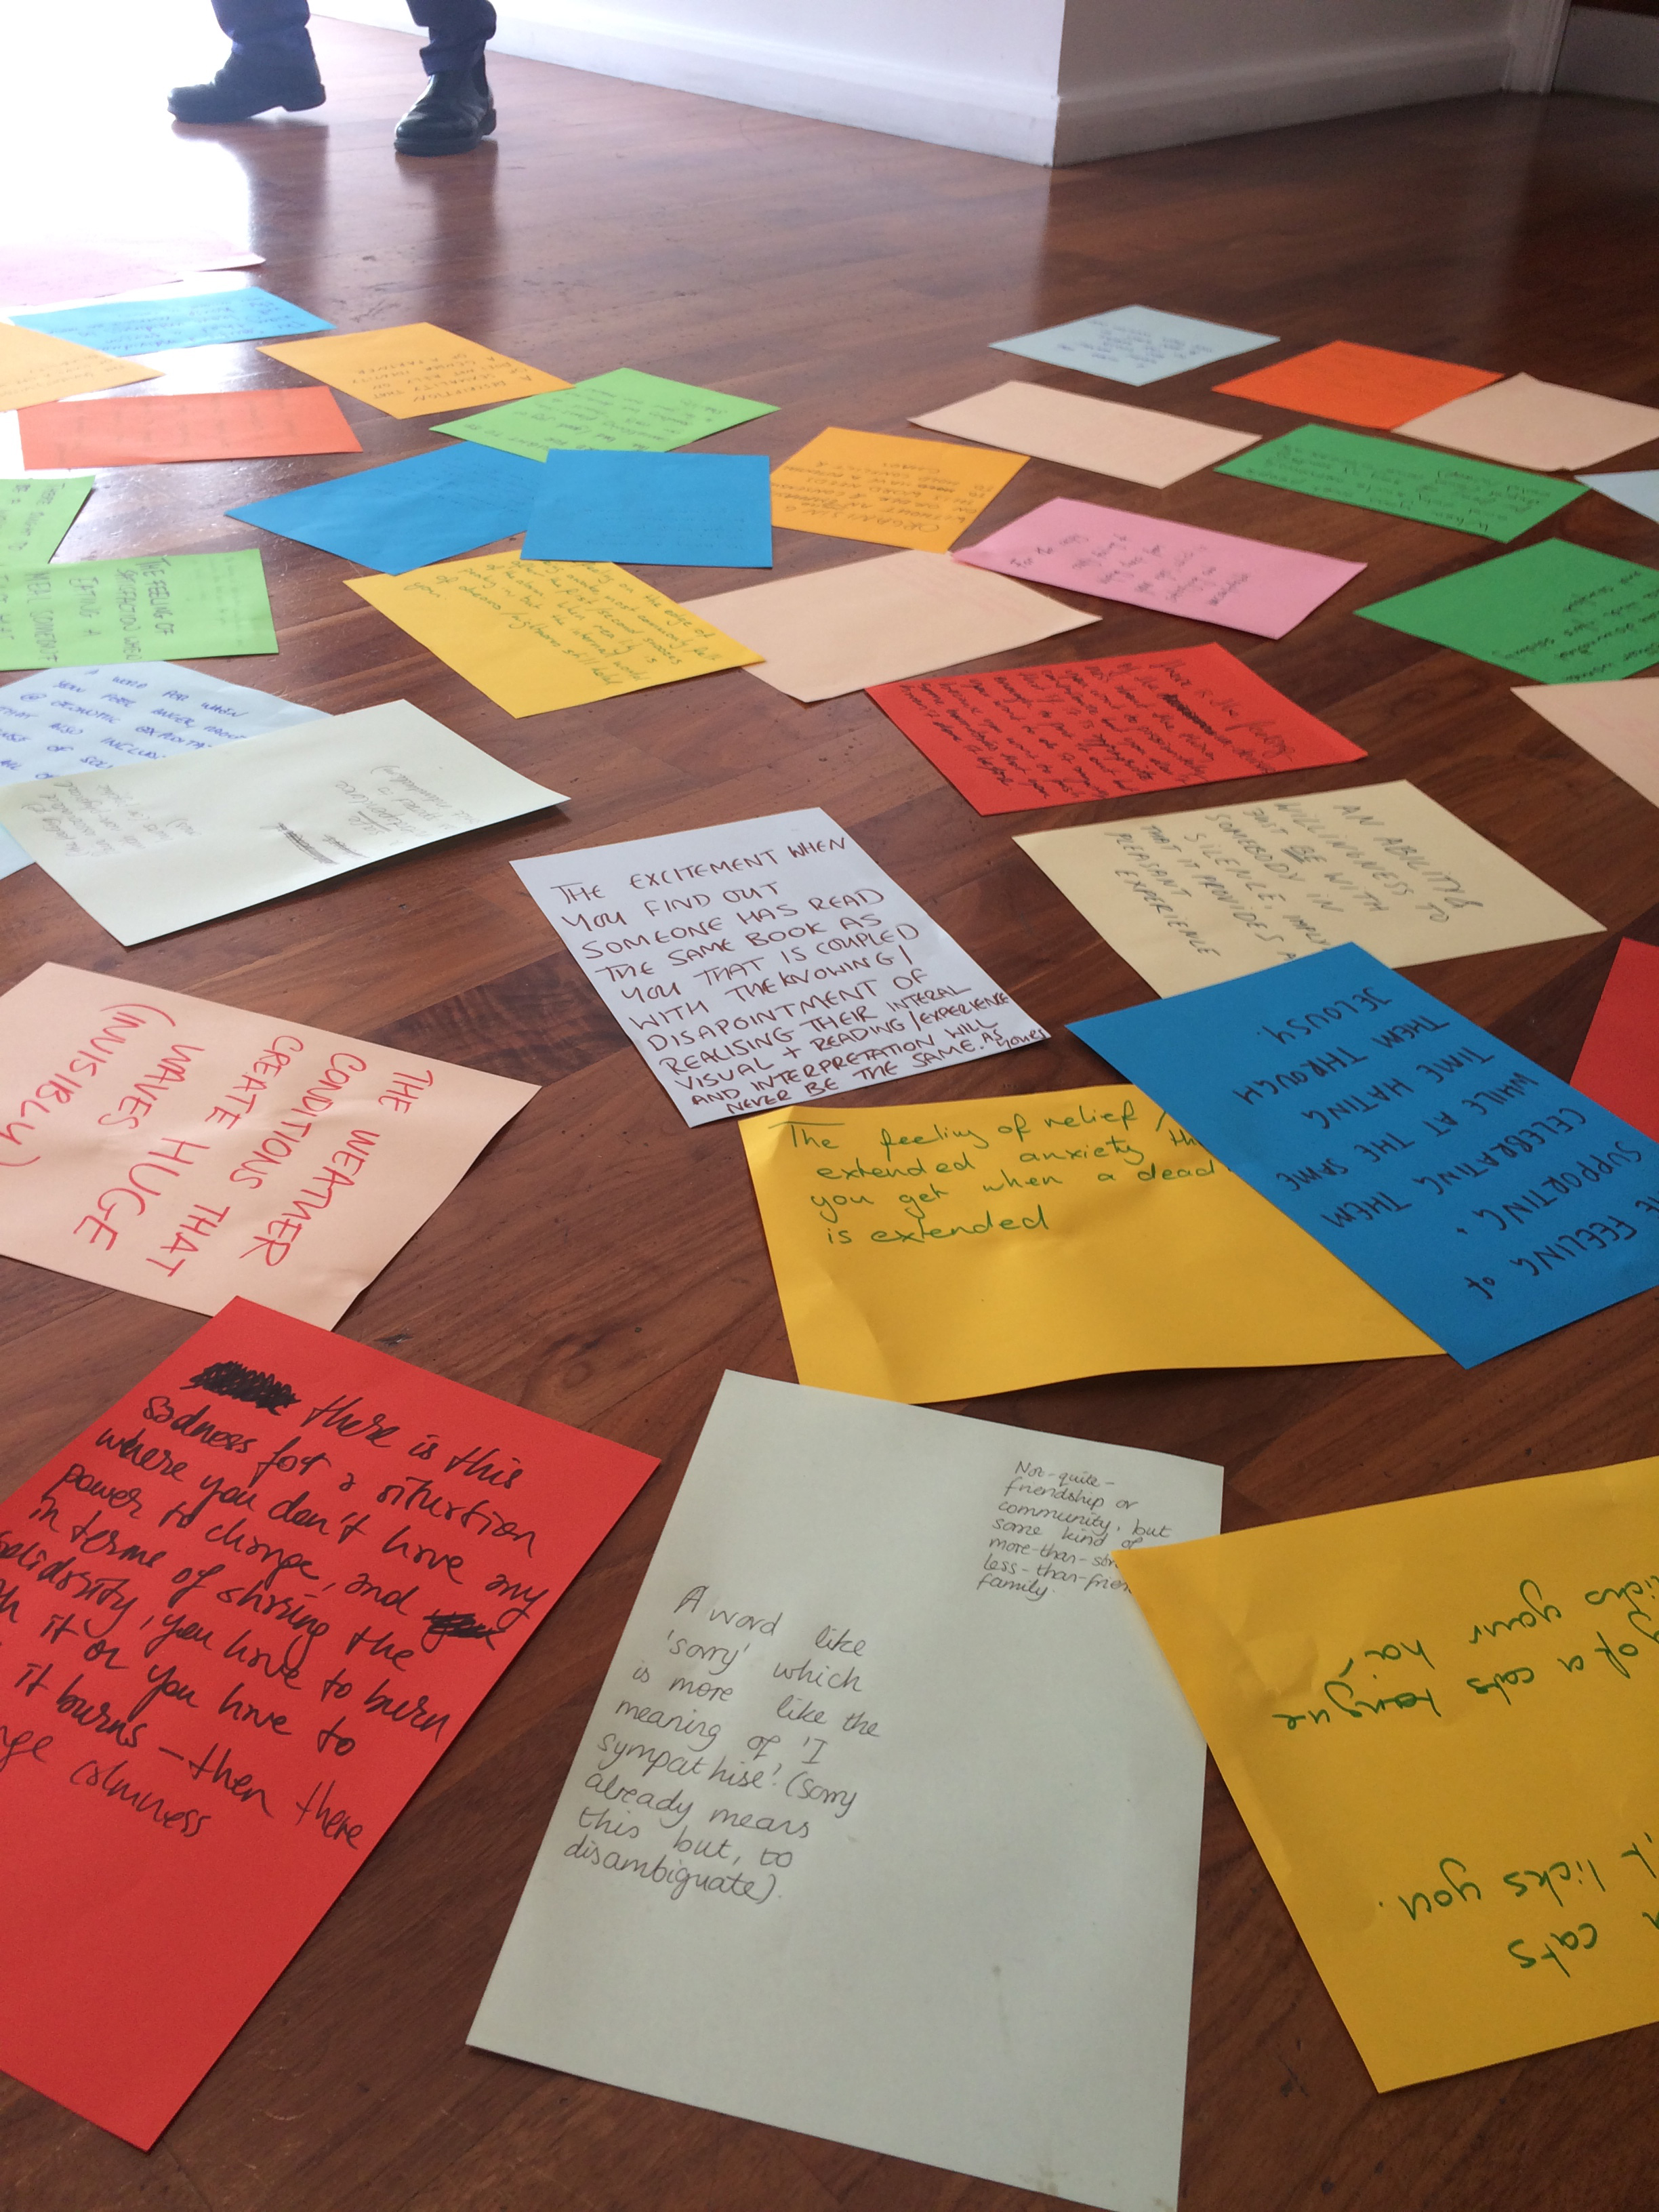
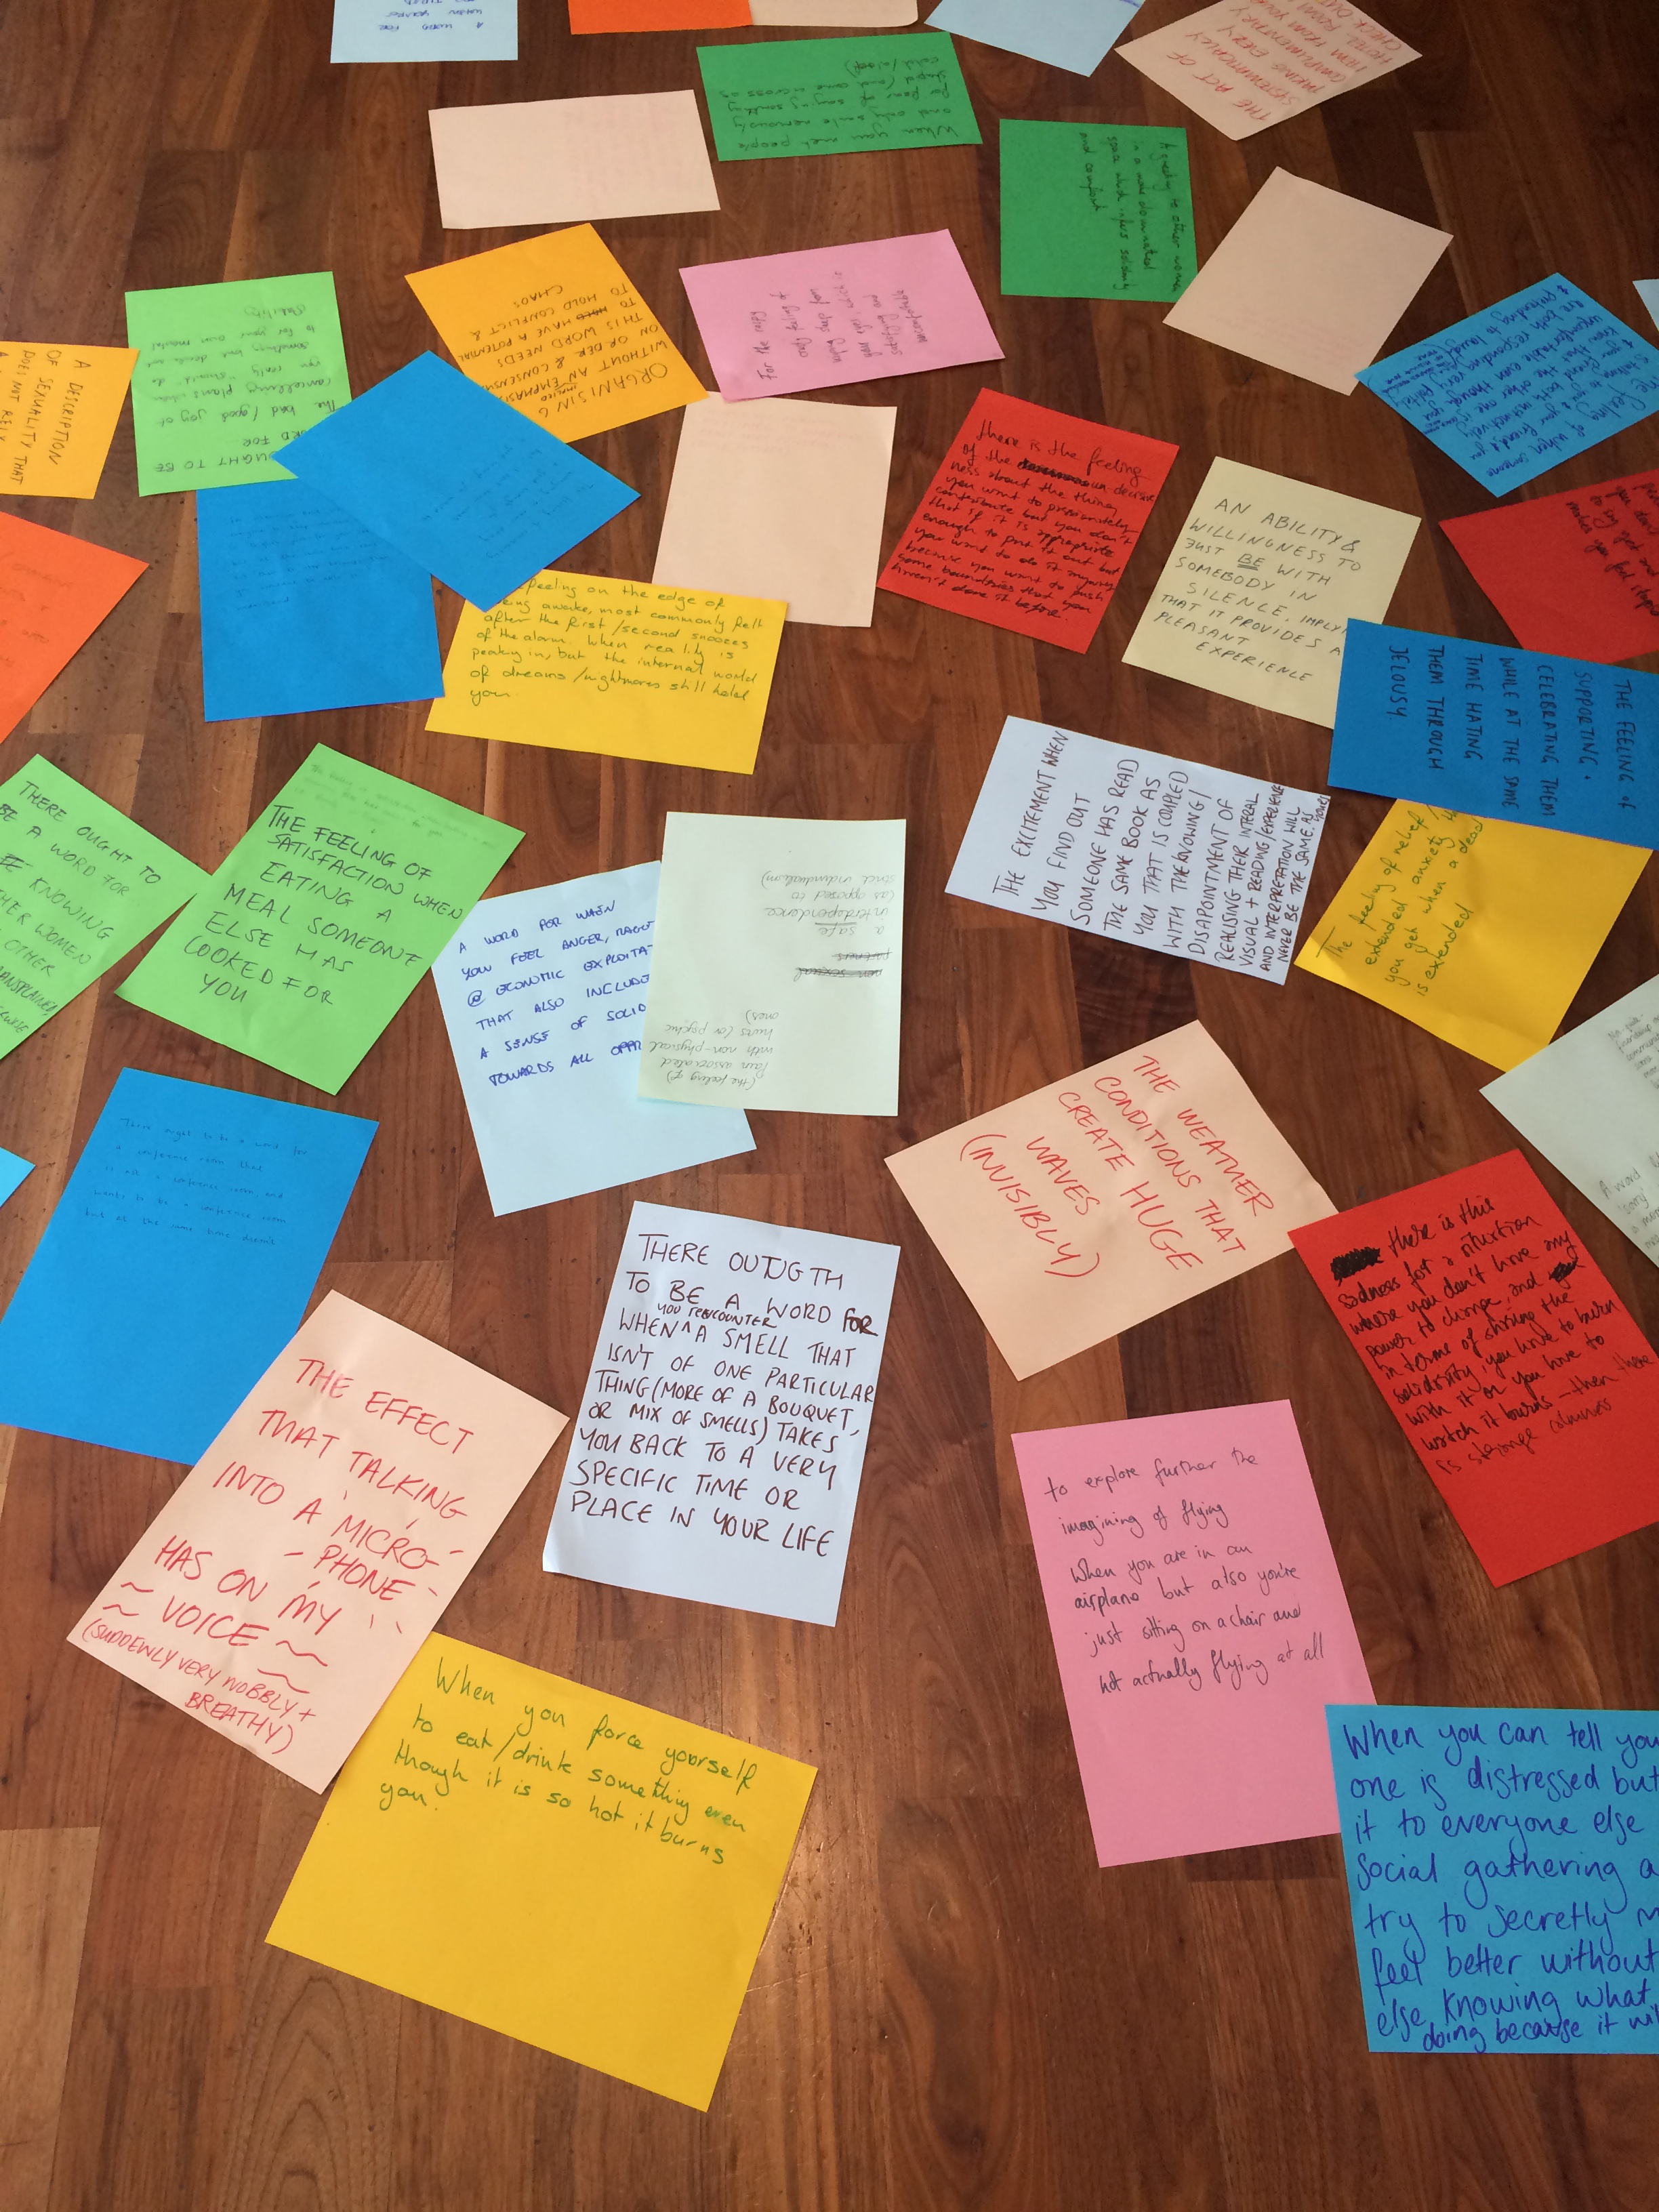
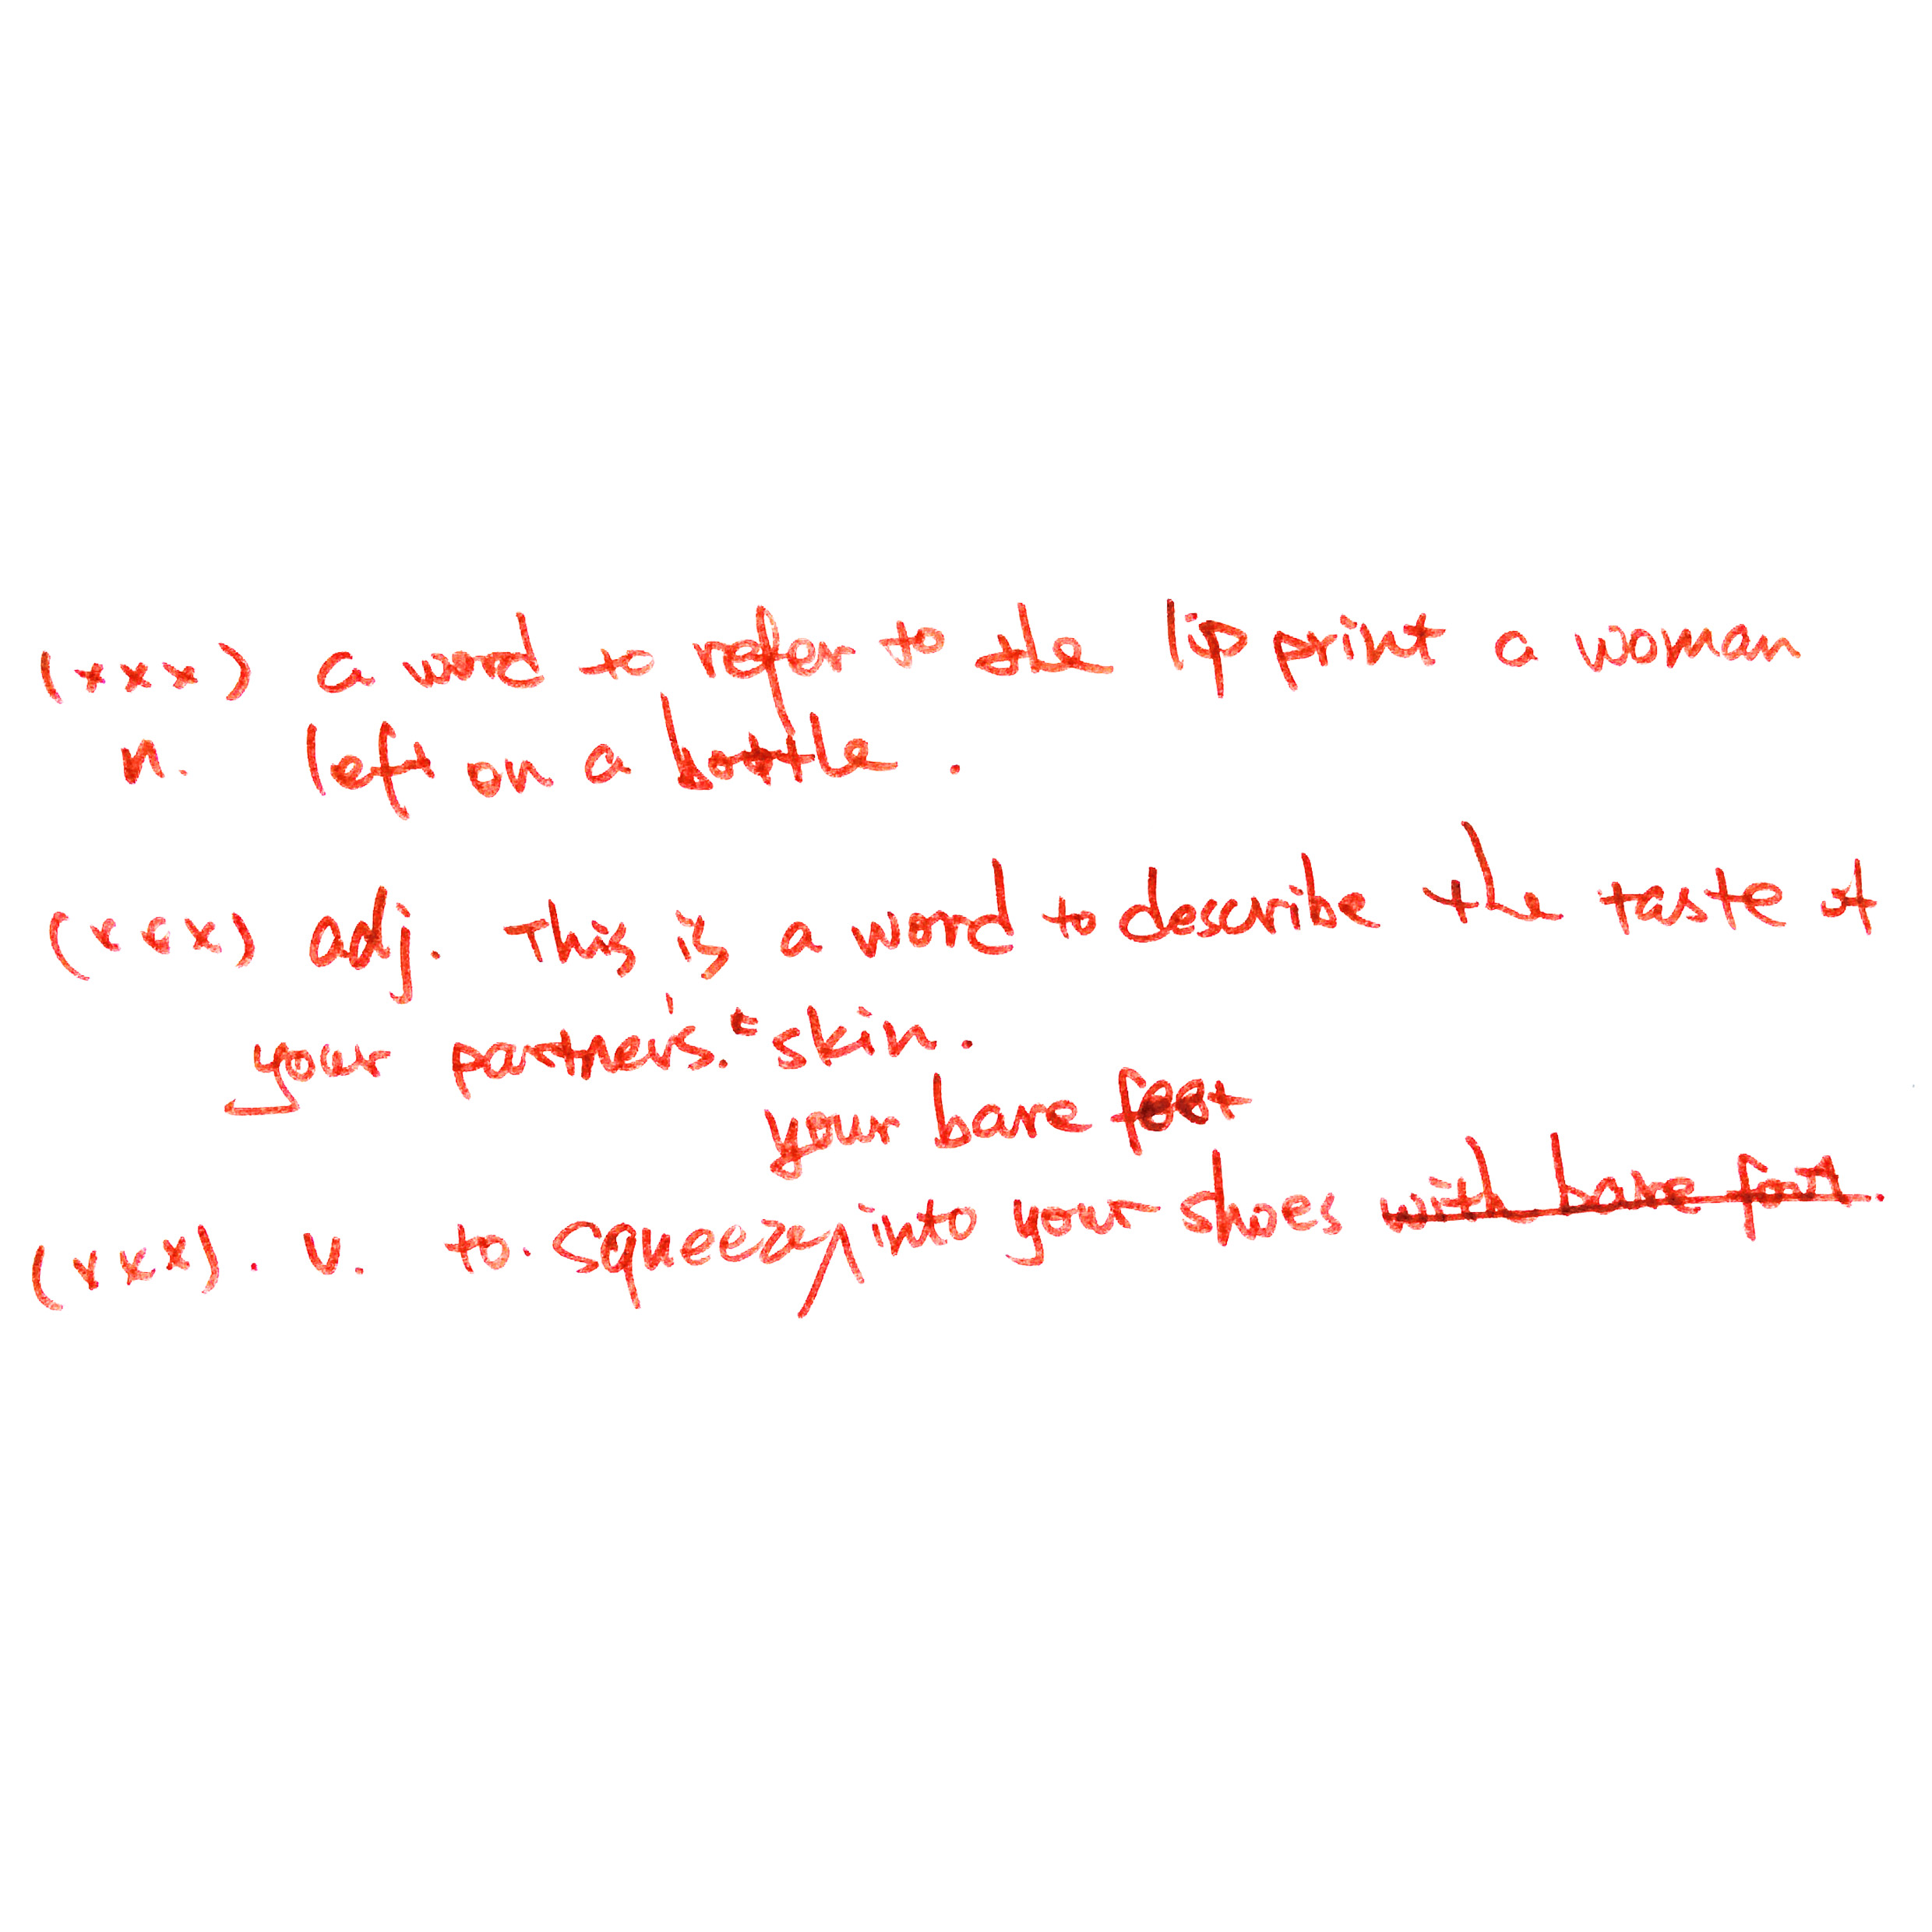
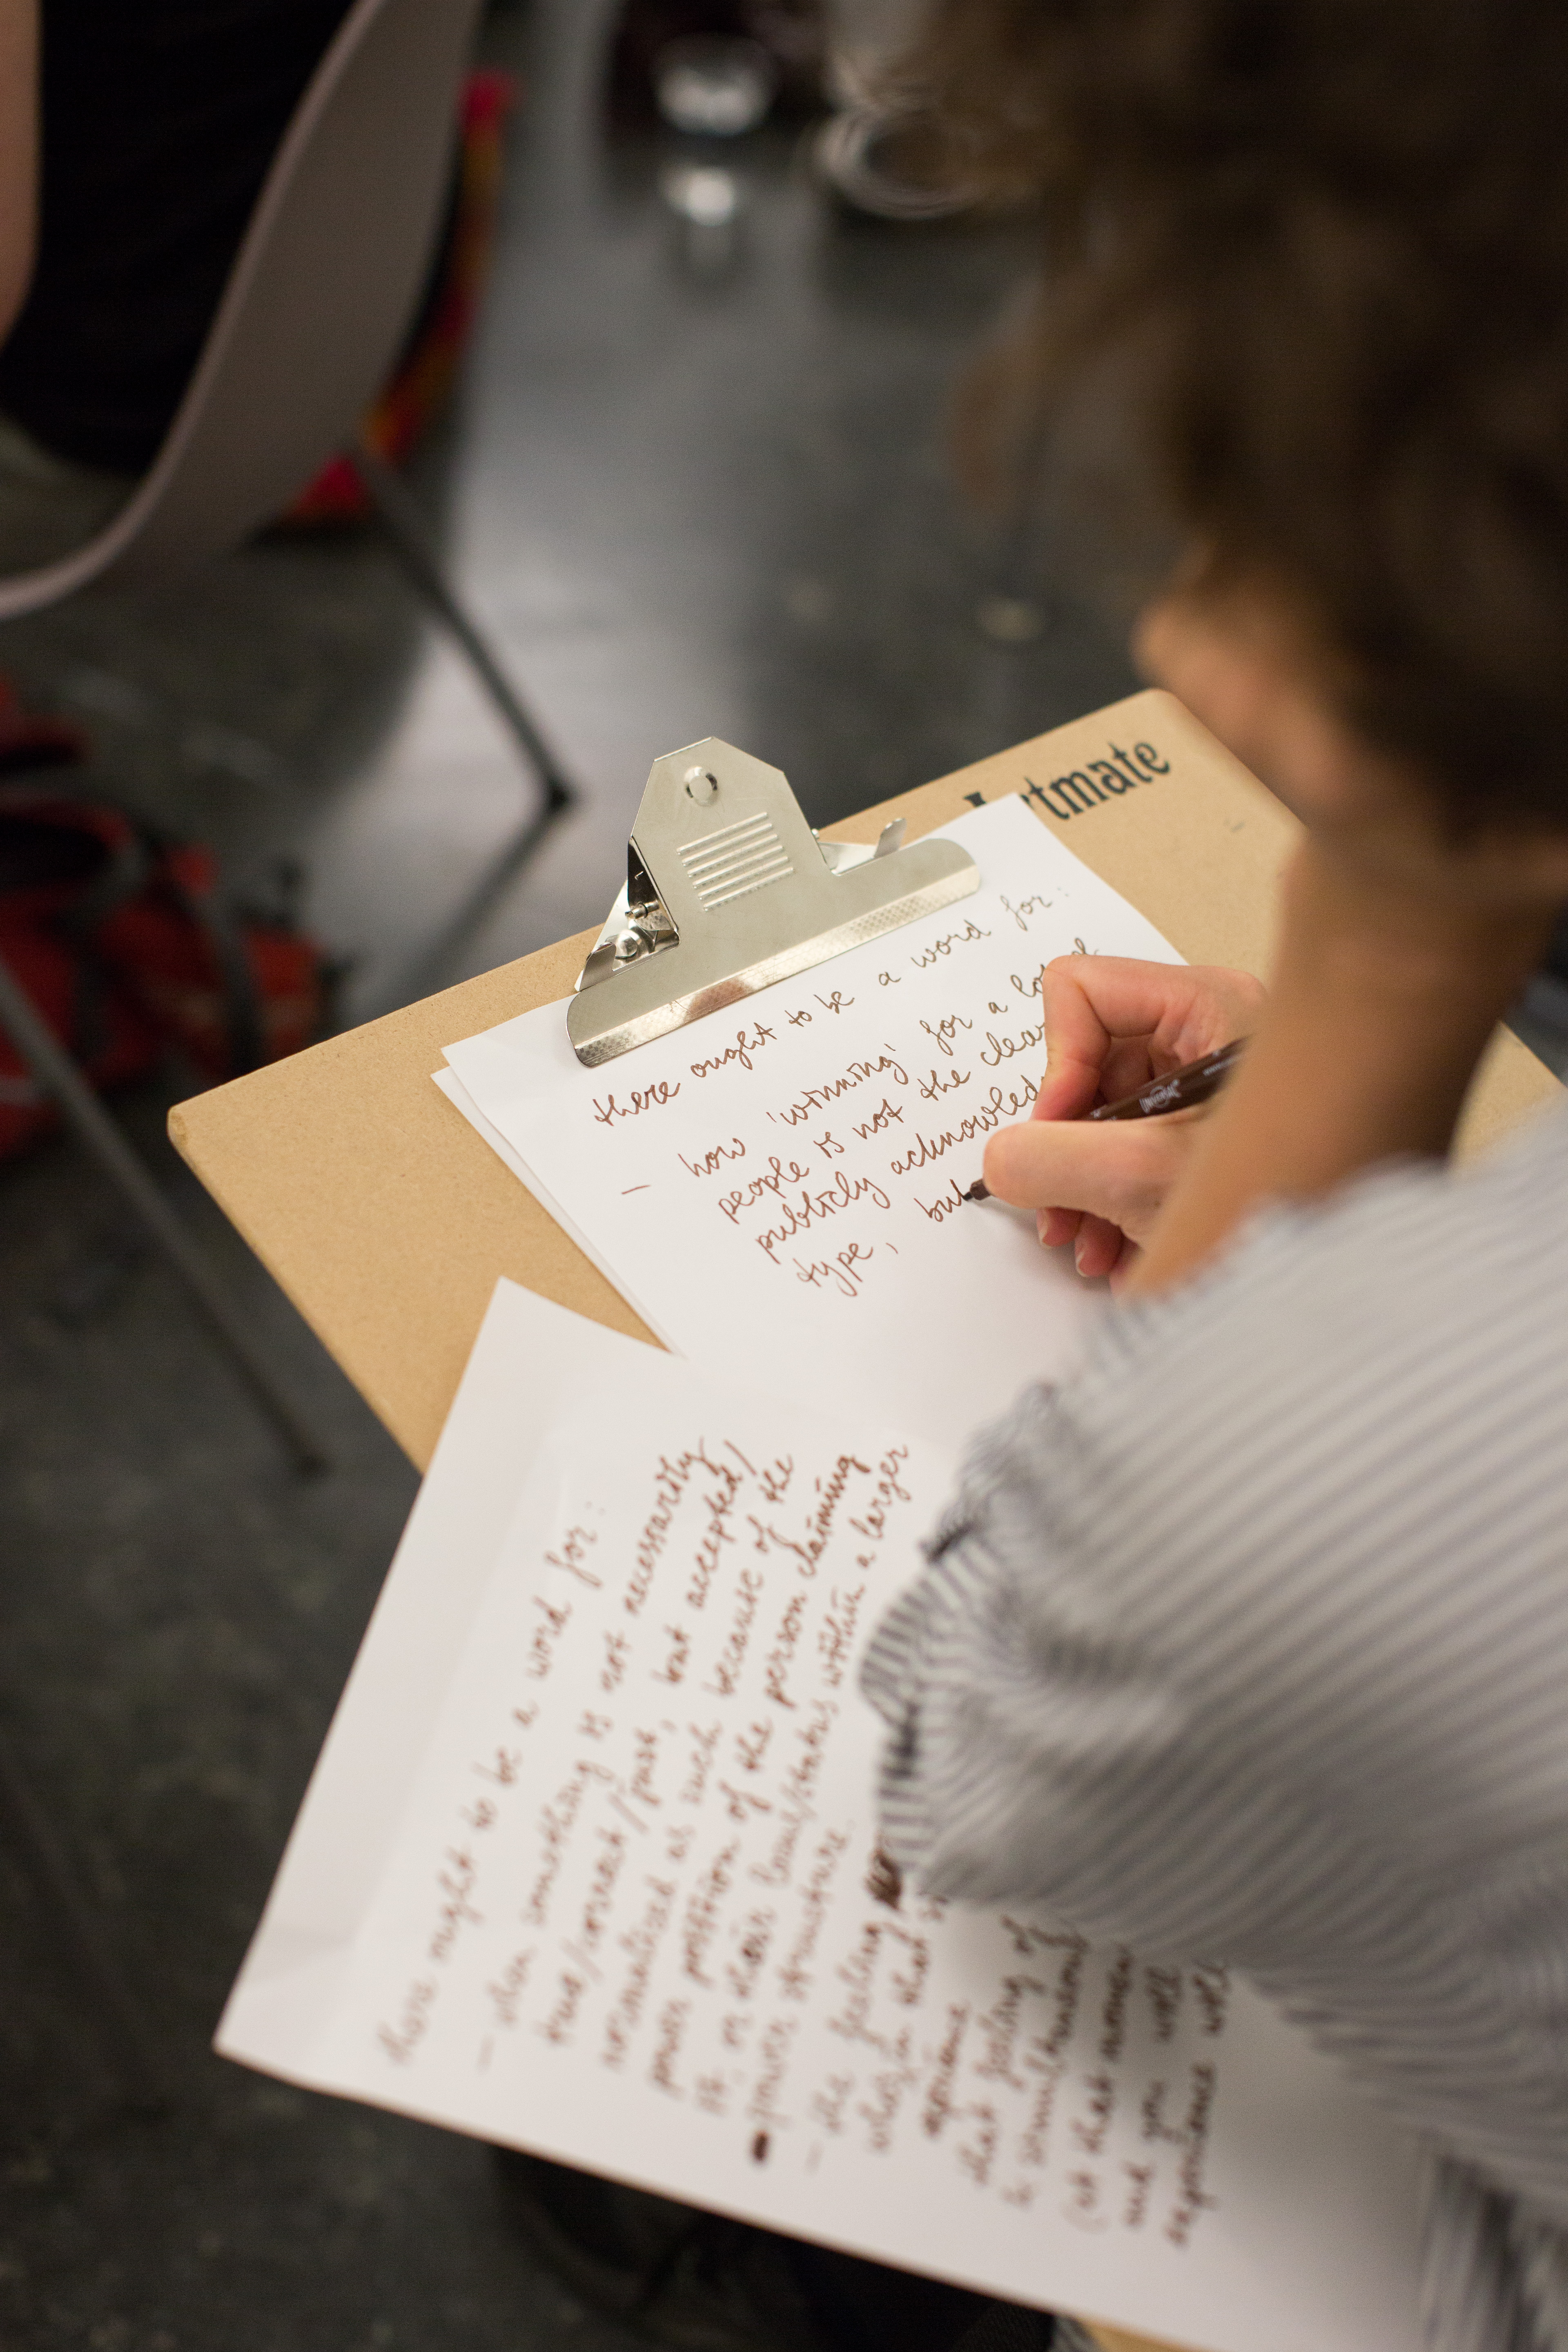
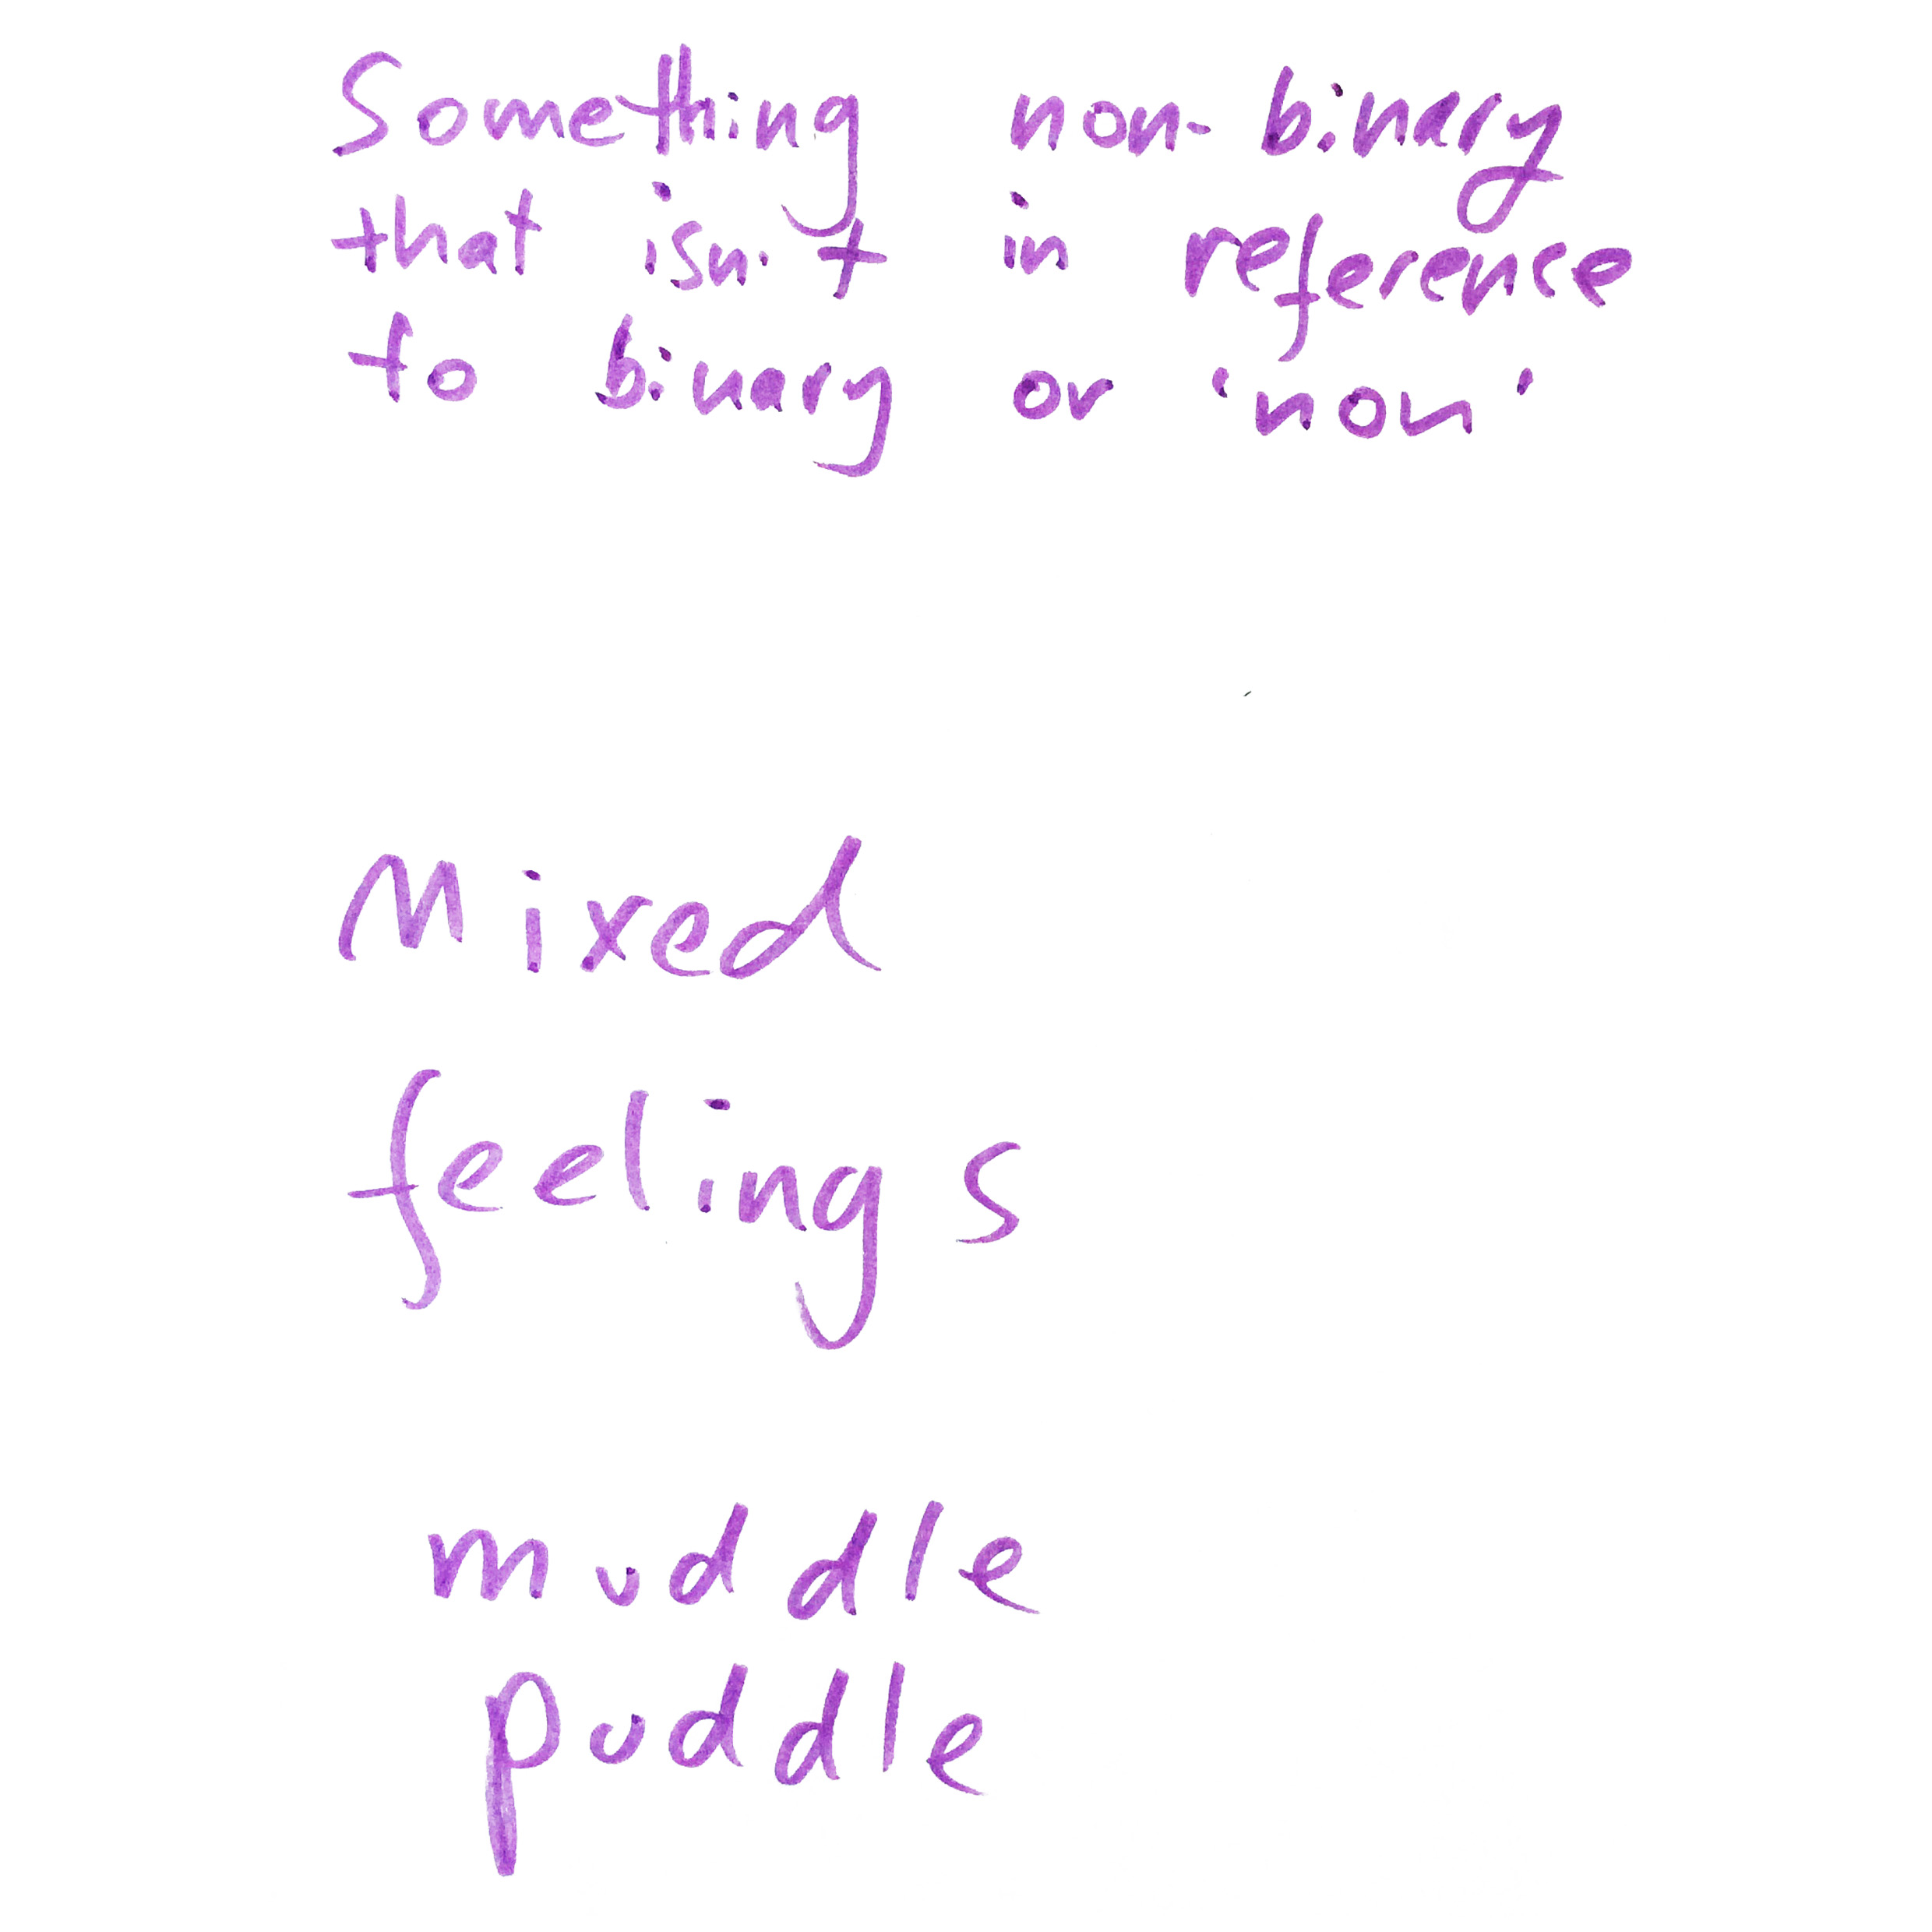
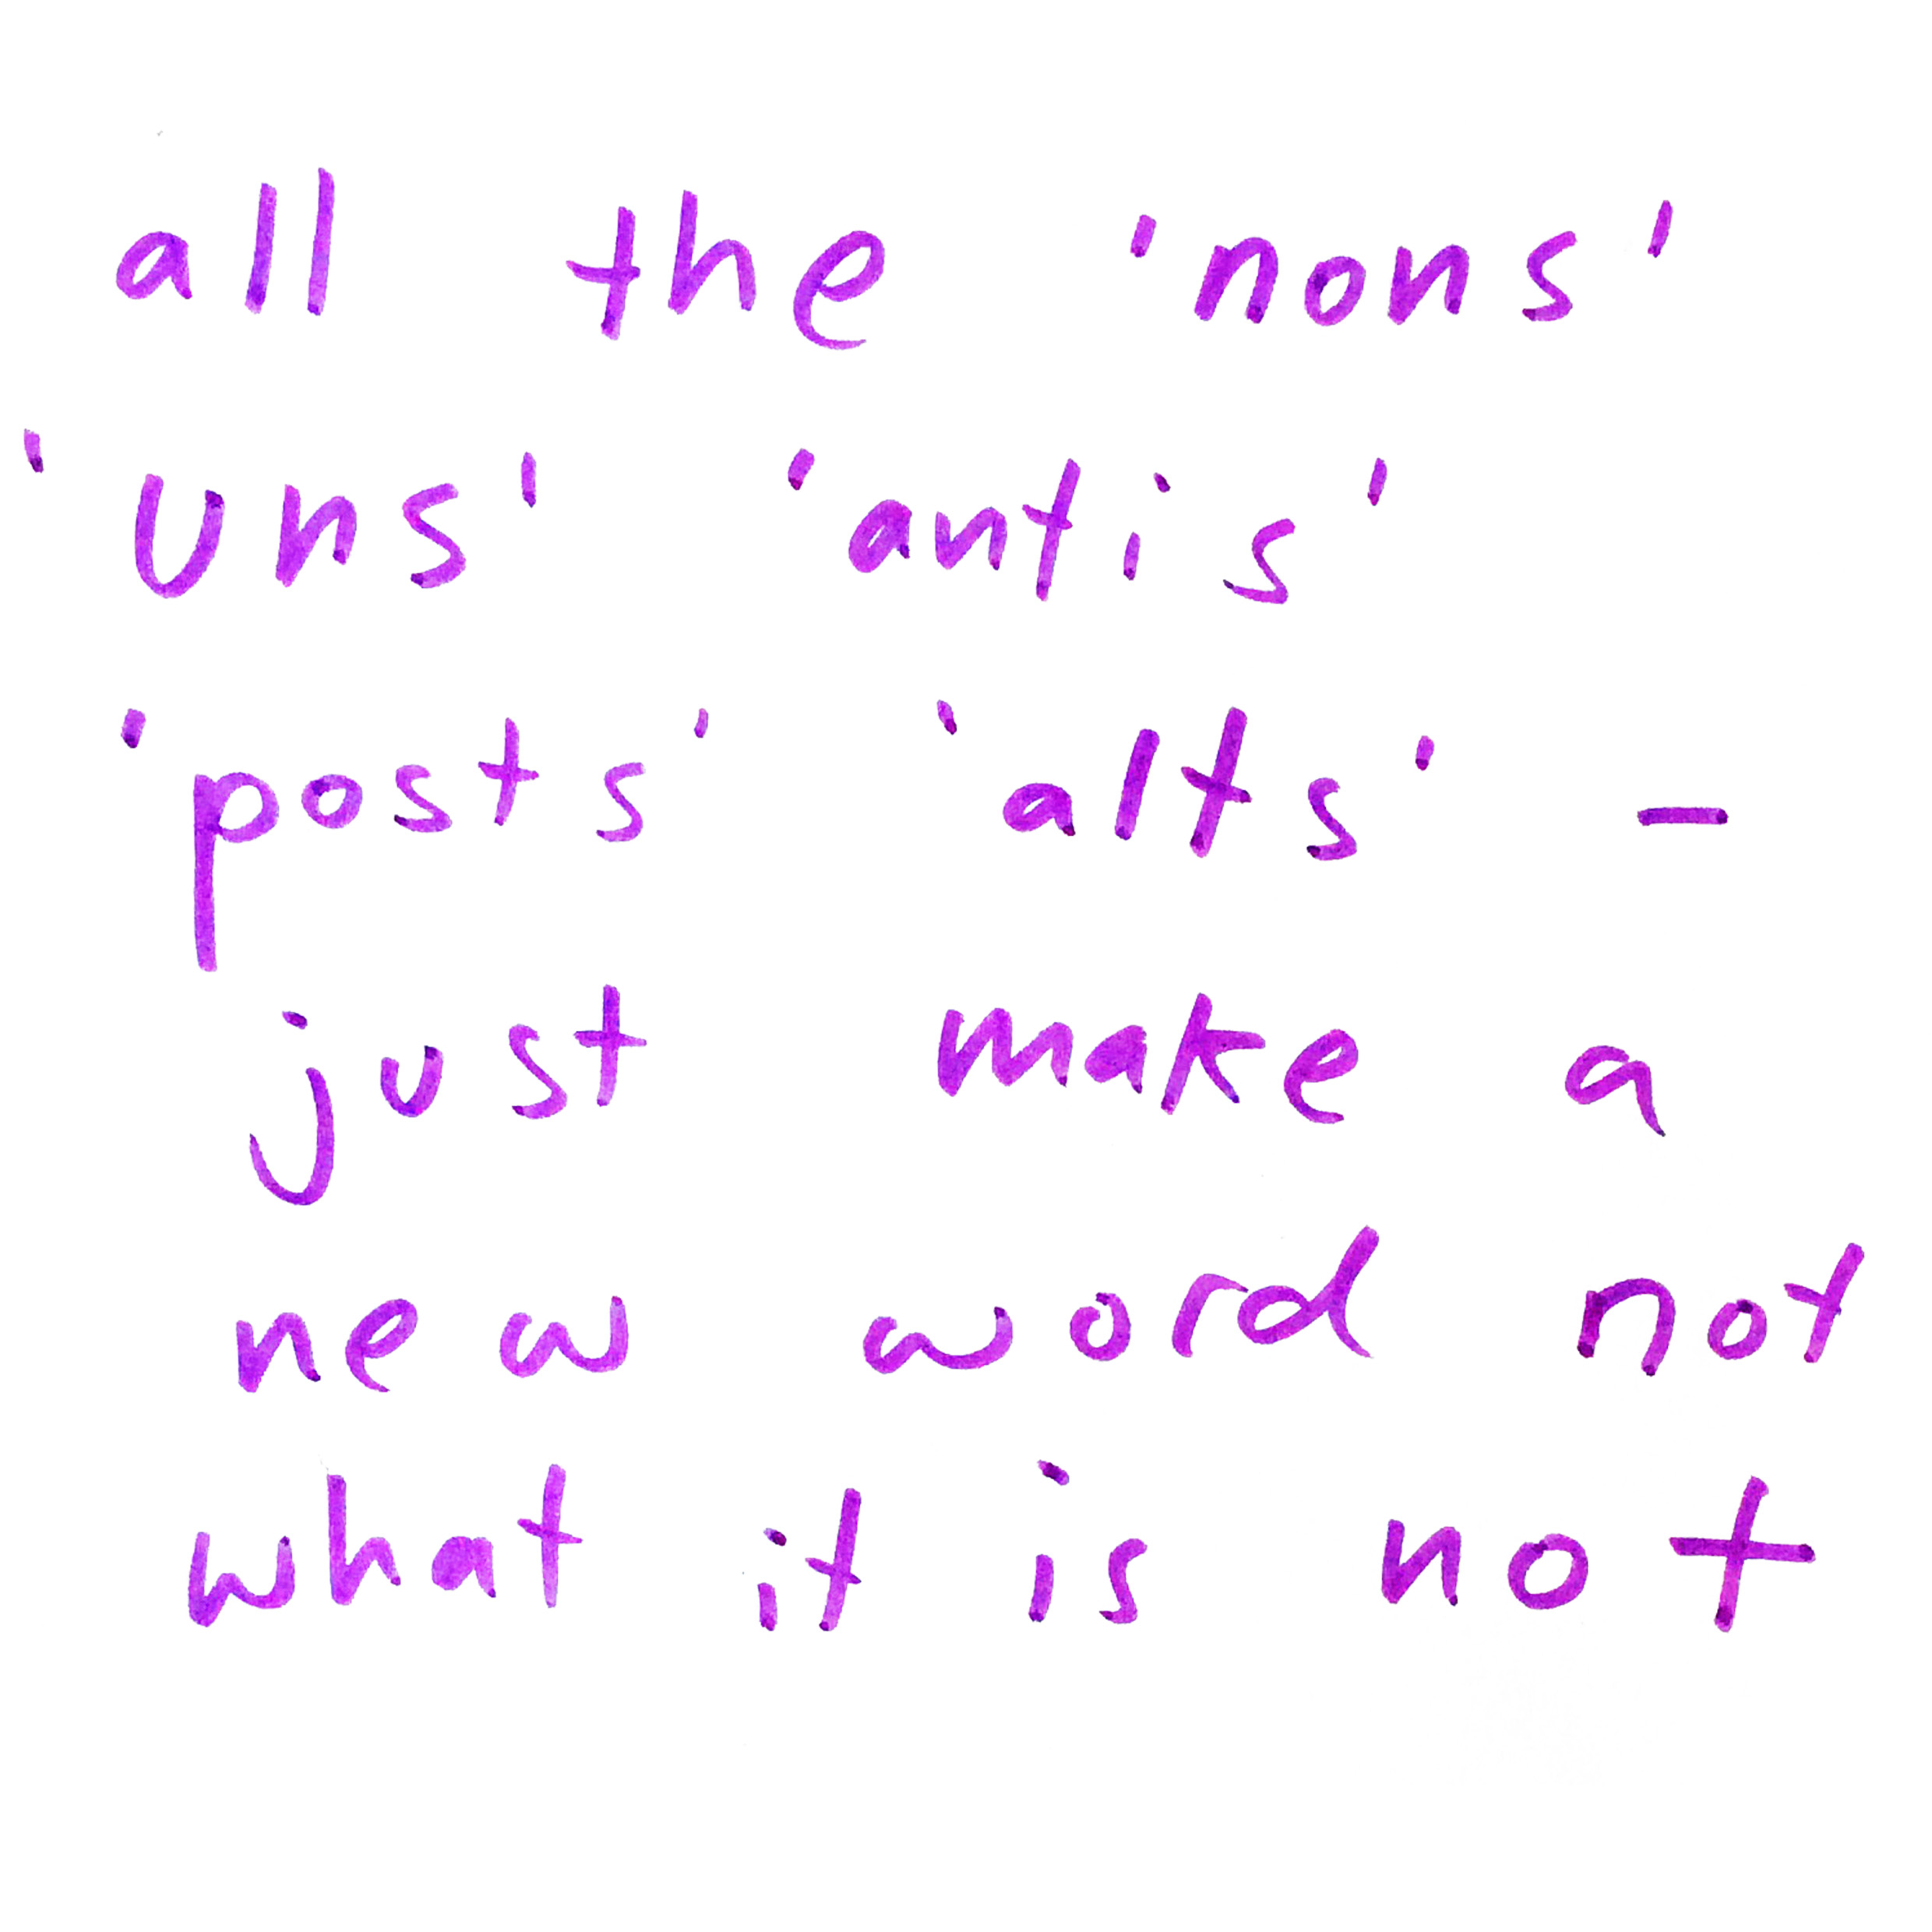
The aim of this workshop is not to add more words to the Láadan language, but rather to channel Elgin’s experimental and collaborative approach in the development of a new non-linguistic language. Taking inspiration from Elgin, we will use her prompt ‘There ought to be a word...’ as a starting point for thinking about what new words we need.
What perceptions, feelings, ideas or sensations do you struggle to express in English (or any of your other languages)?
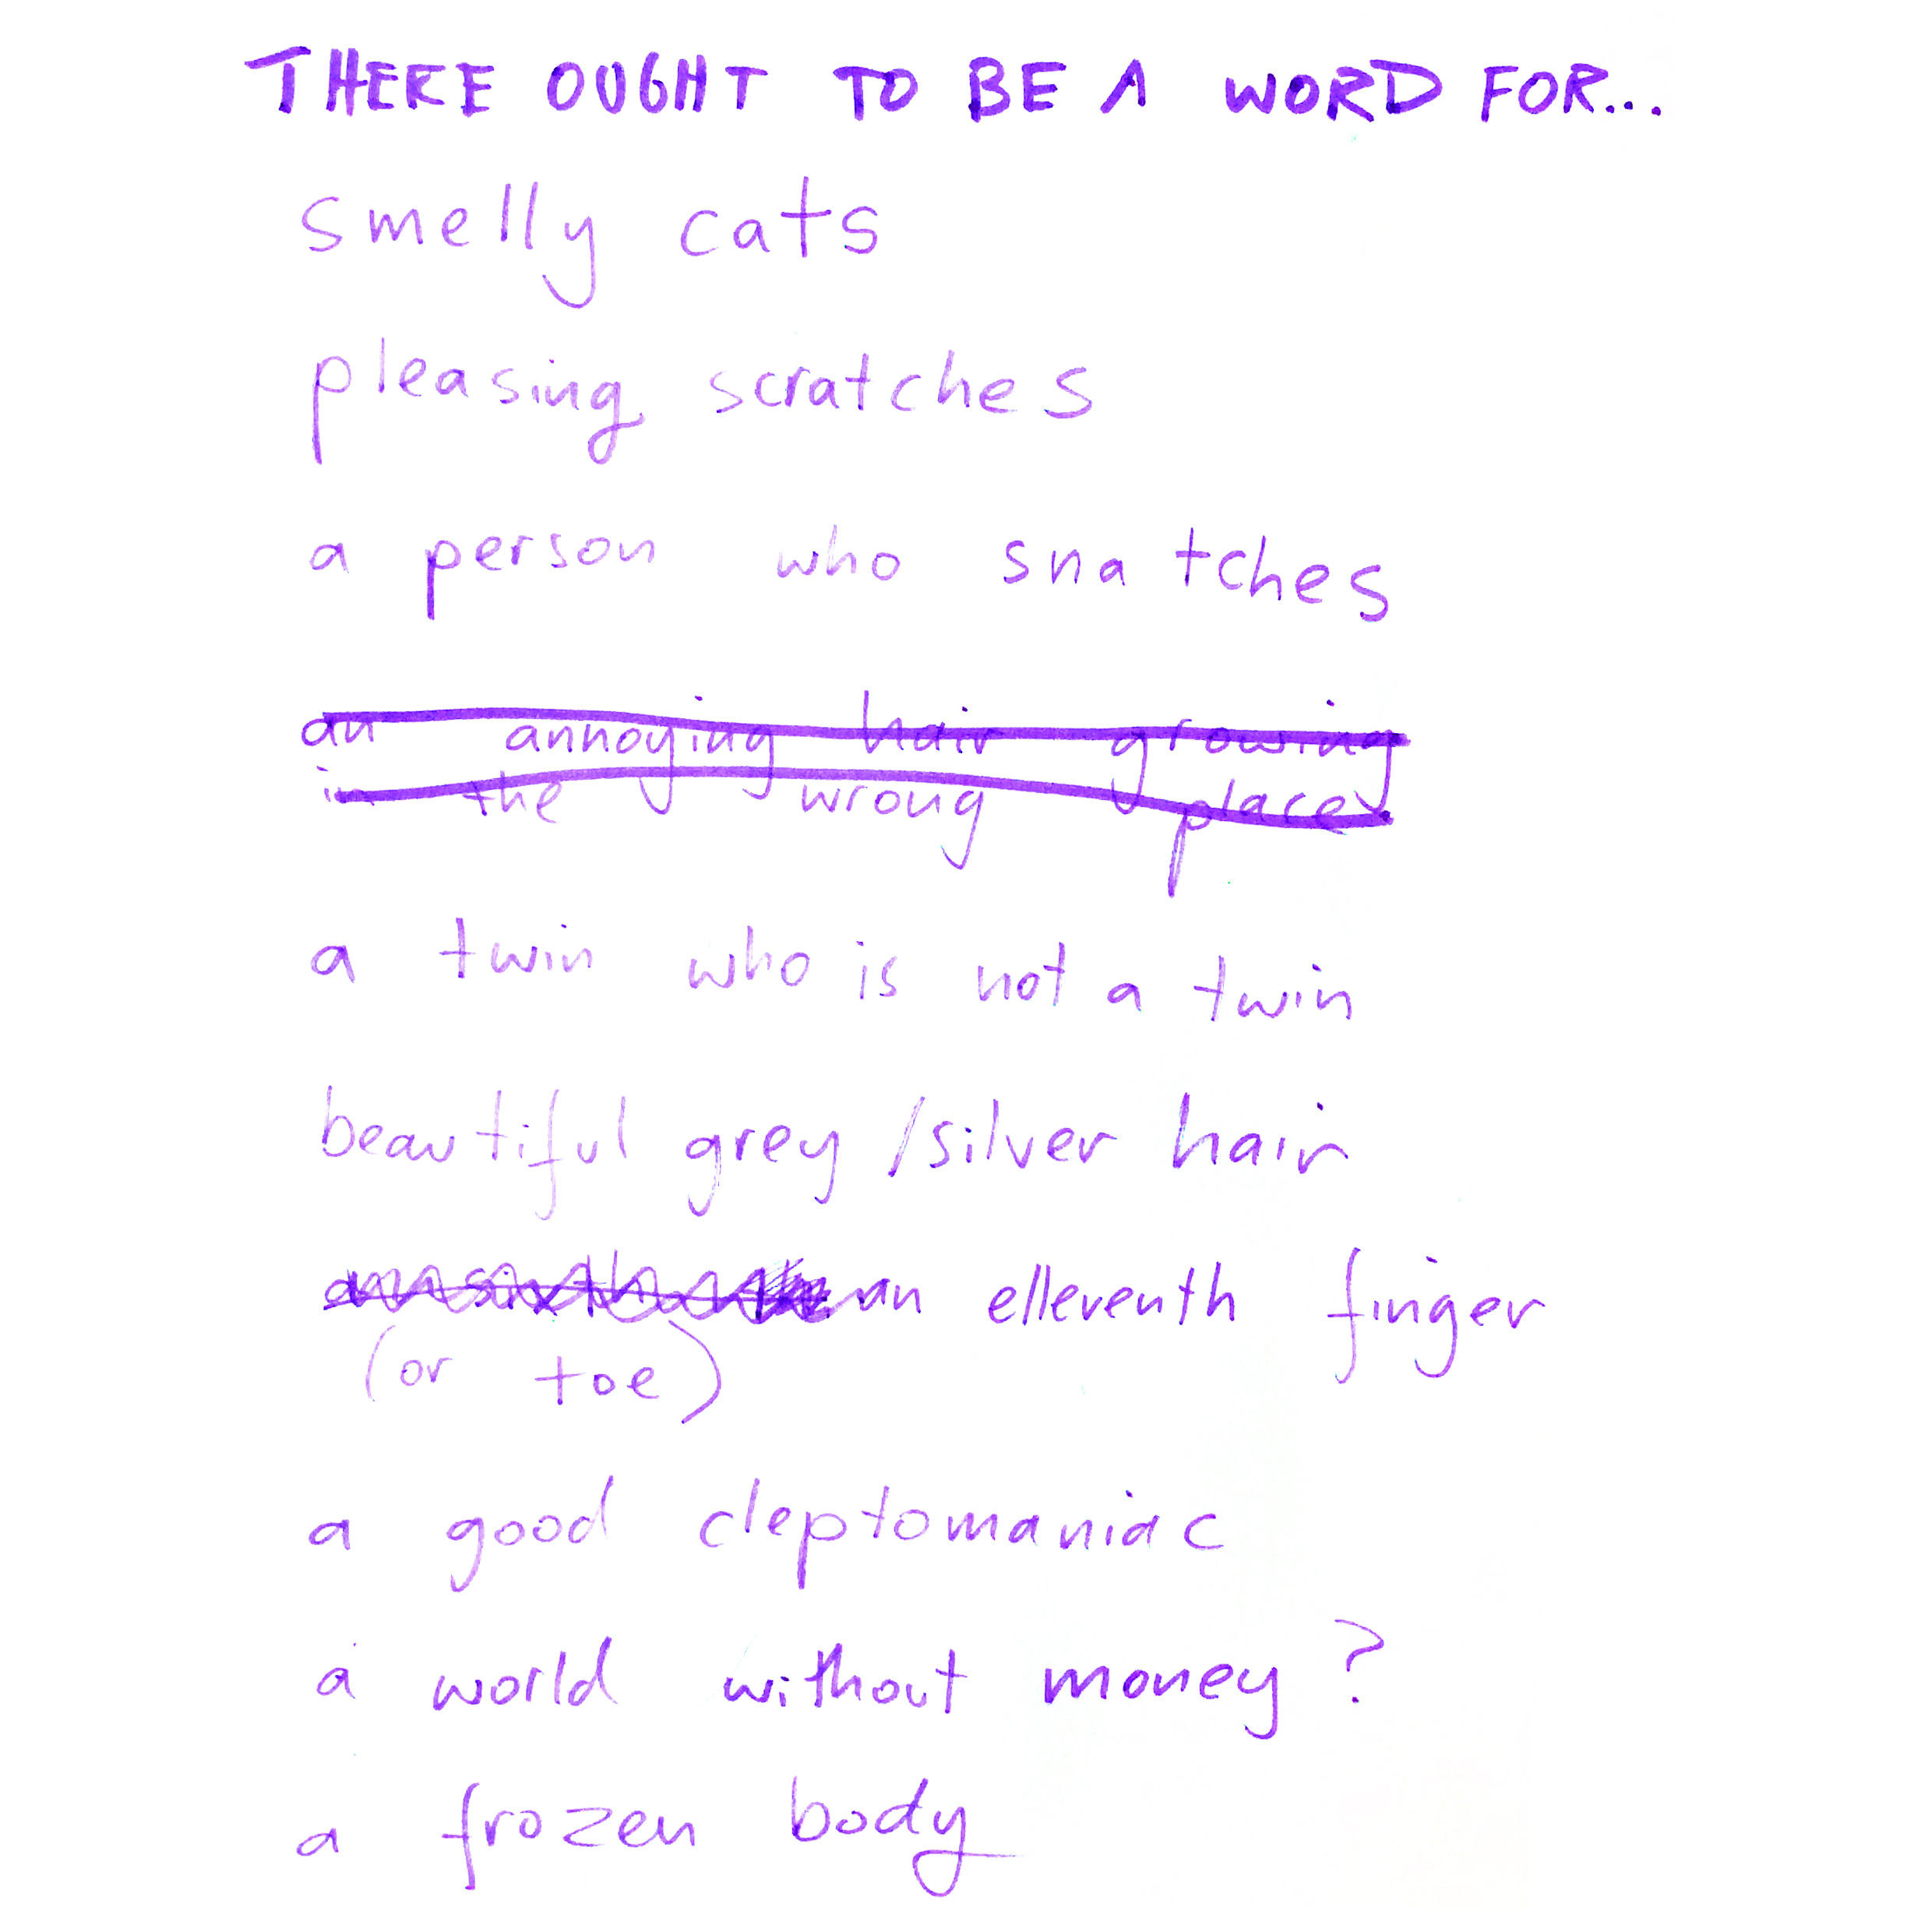
Write down a description of this gap in language (i.e. 'There ought to be a word that describes the feeling of....') on a piece of paper. Create as many of these potential words as you want. Once they are written down, put them in a shared space for the rest of the group to read.
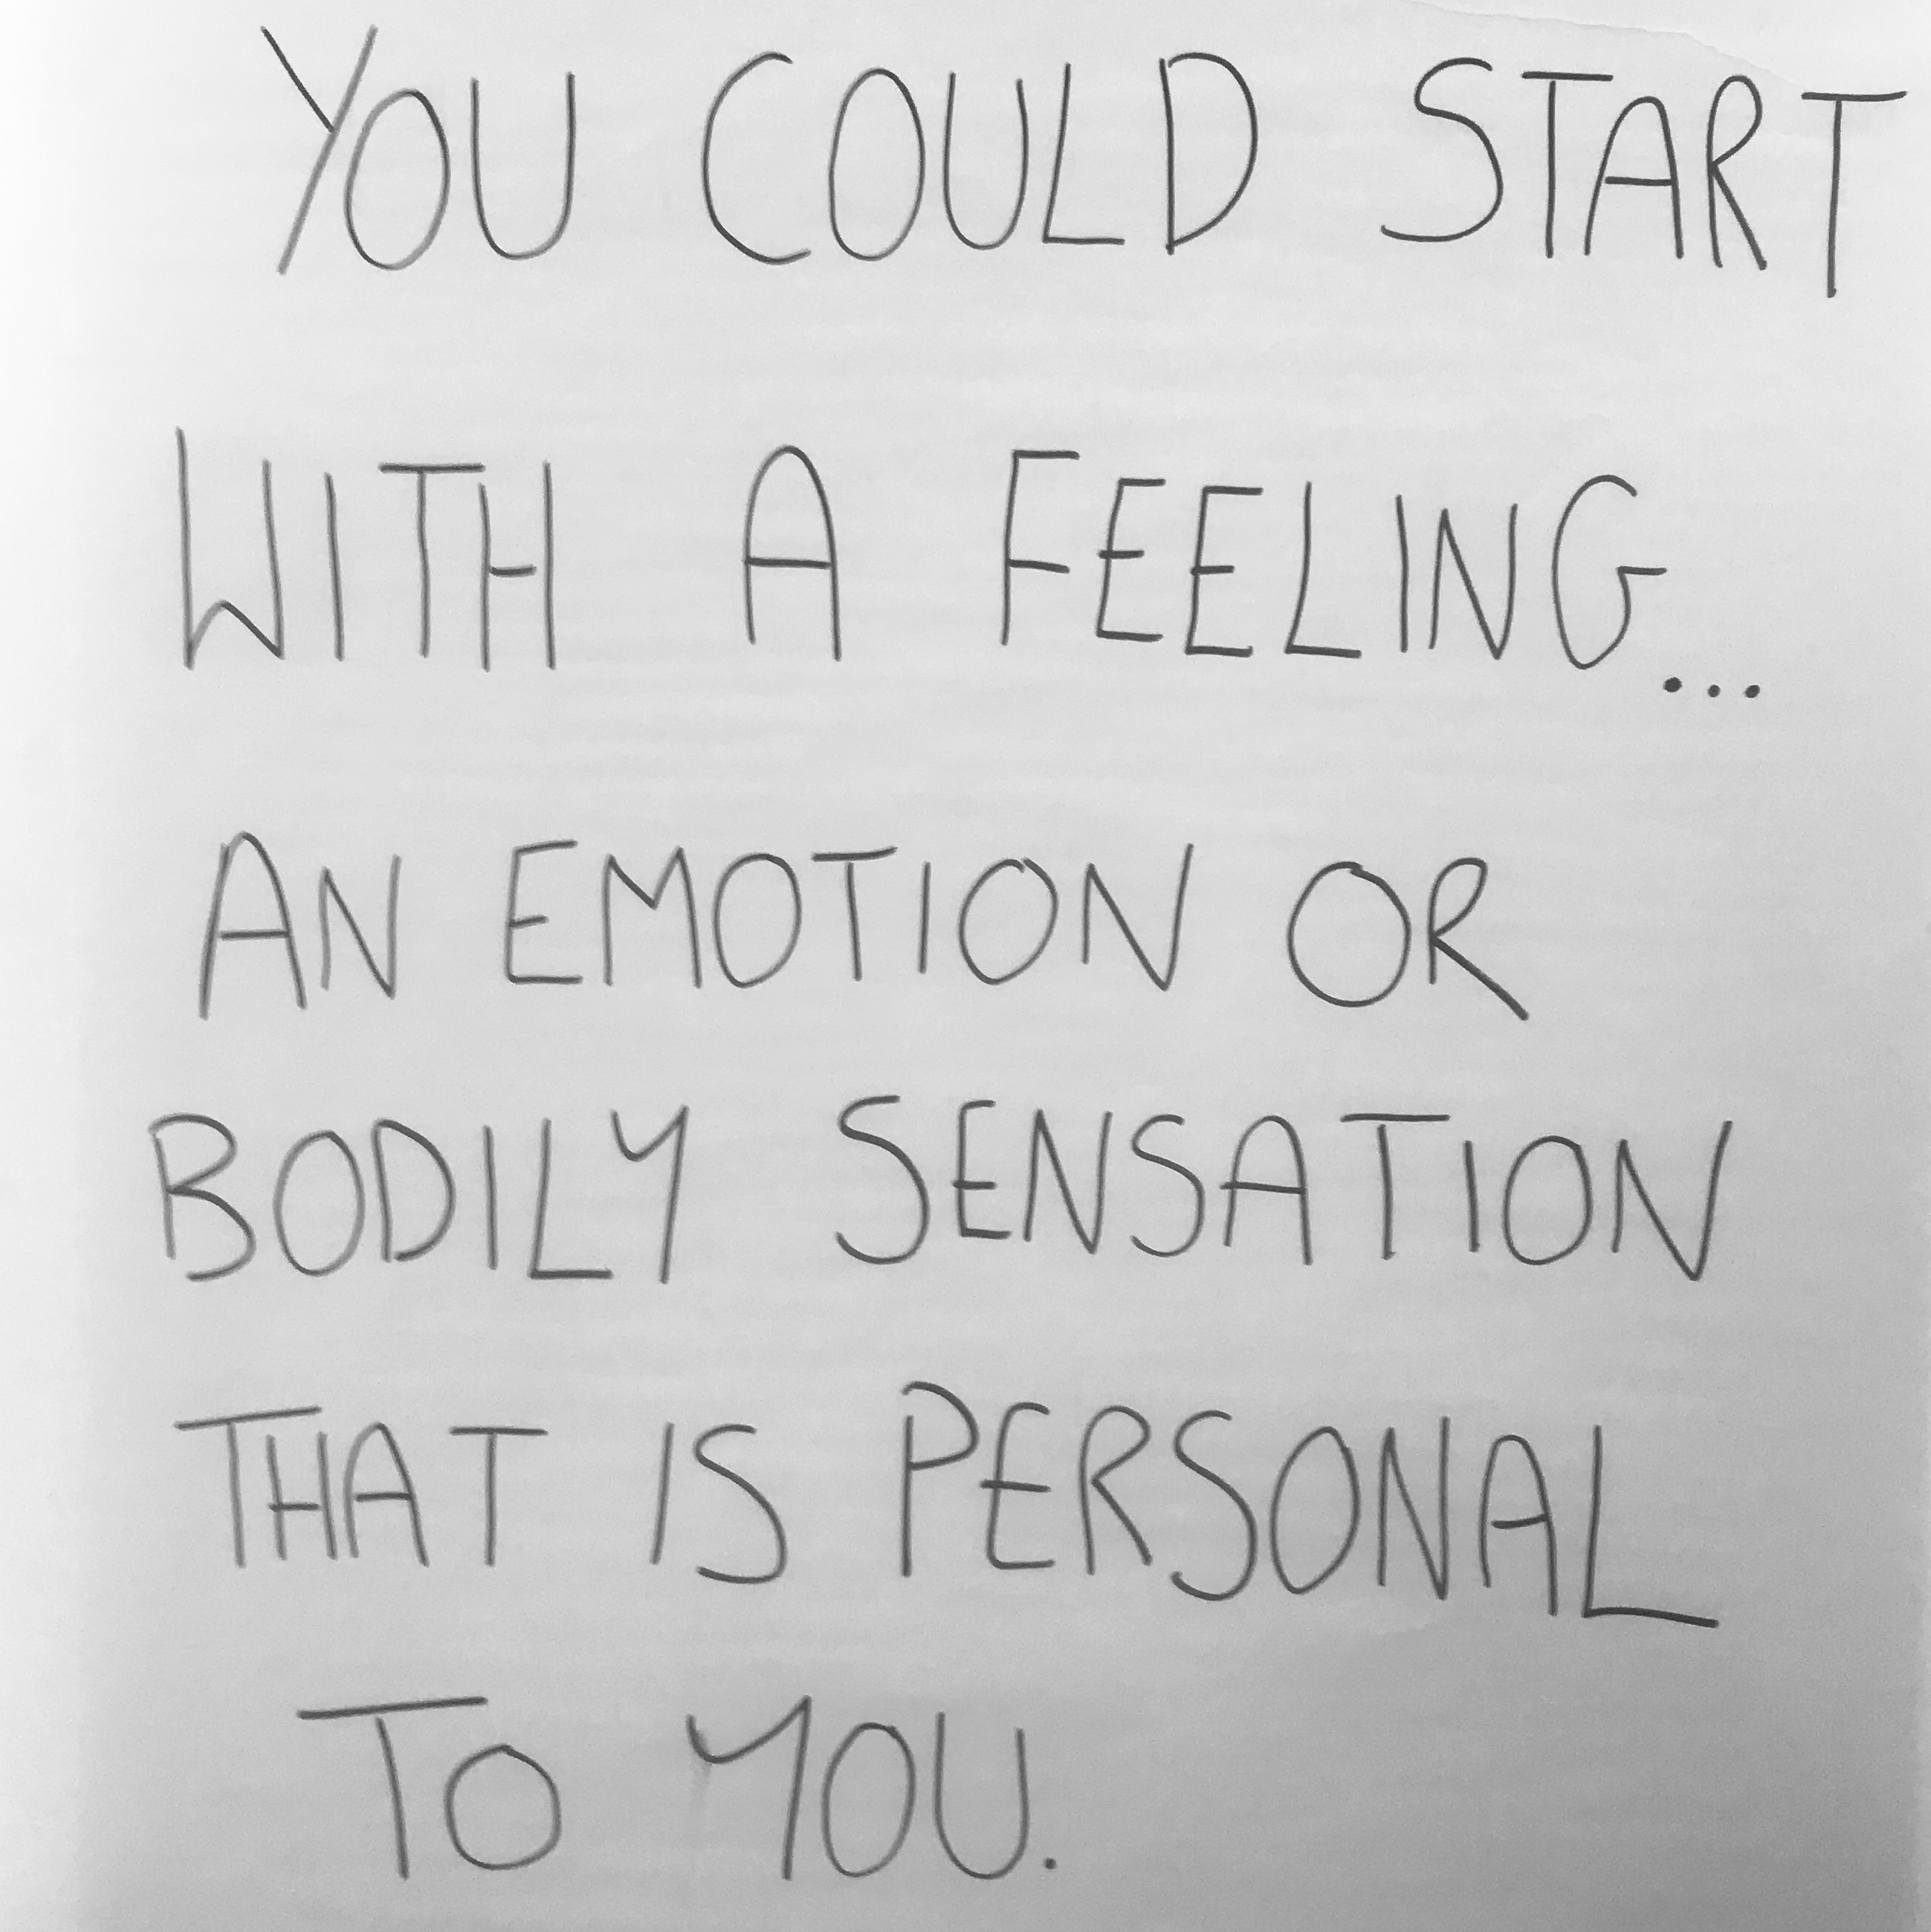
We identified some questions we were interested in focusing the workshop on - feel free to do the same. Here are a couple of prompts from the Brighton workshop:
You could start with a feeling. An emotion or a bodily sensation that is personal to you.
Is there an idea, a dream or desire that you do not have a word for at the moment? It could be something subtle, or something epic, or something that feels impossible because it is inherently contradictory. Something that does not yet have a place in language and needs one.
What perceptions, feelings, ideas or sensations do you struggle to express in English (or any of your other languages)?
Write down a description of this gap in language (i.e. 'There ought to be a word that describes the feeling of....') on a piece of paper. Create as many of these potential words as you want. Once they are written down, put them in a shared space for the rest of the group to read.
We identified some questions we were interested in focusing the workshop on - feel free to do the same. Here are a couple of prompts from the Brighton workshop:
You could start with a feeling. An emotion or a bodily sensation that is personal to you.
Is there an idea, a dream or desire that you do not have a word for at the moment? It could be something subtle, or something epic, or something that feels impossible because it is inherently contradictory. Something that does not yet have a place in language and needs one.
Moving into drawing and sound
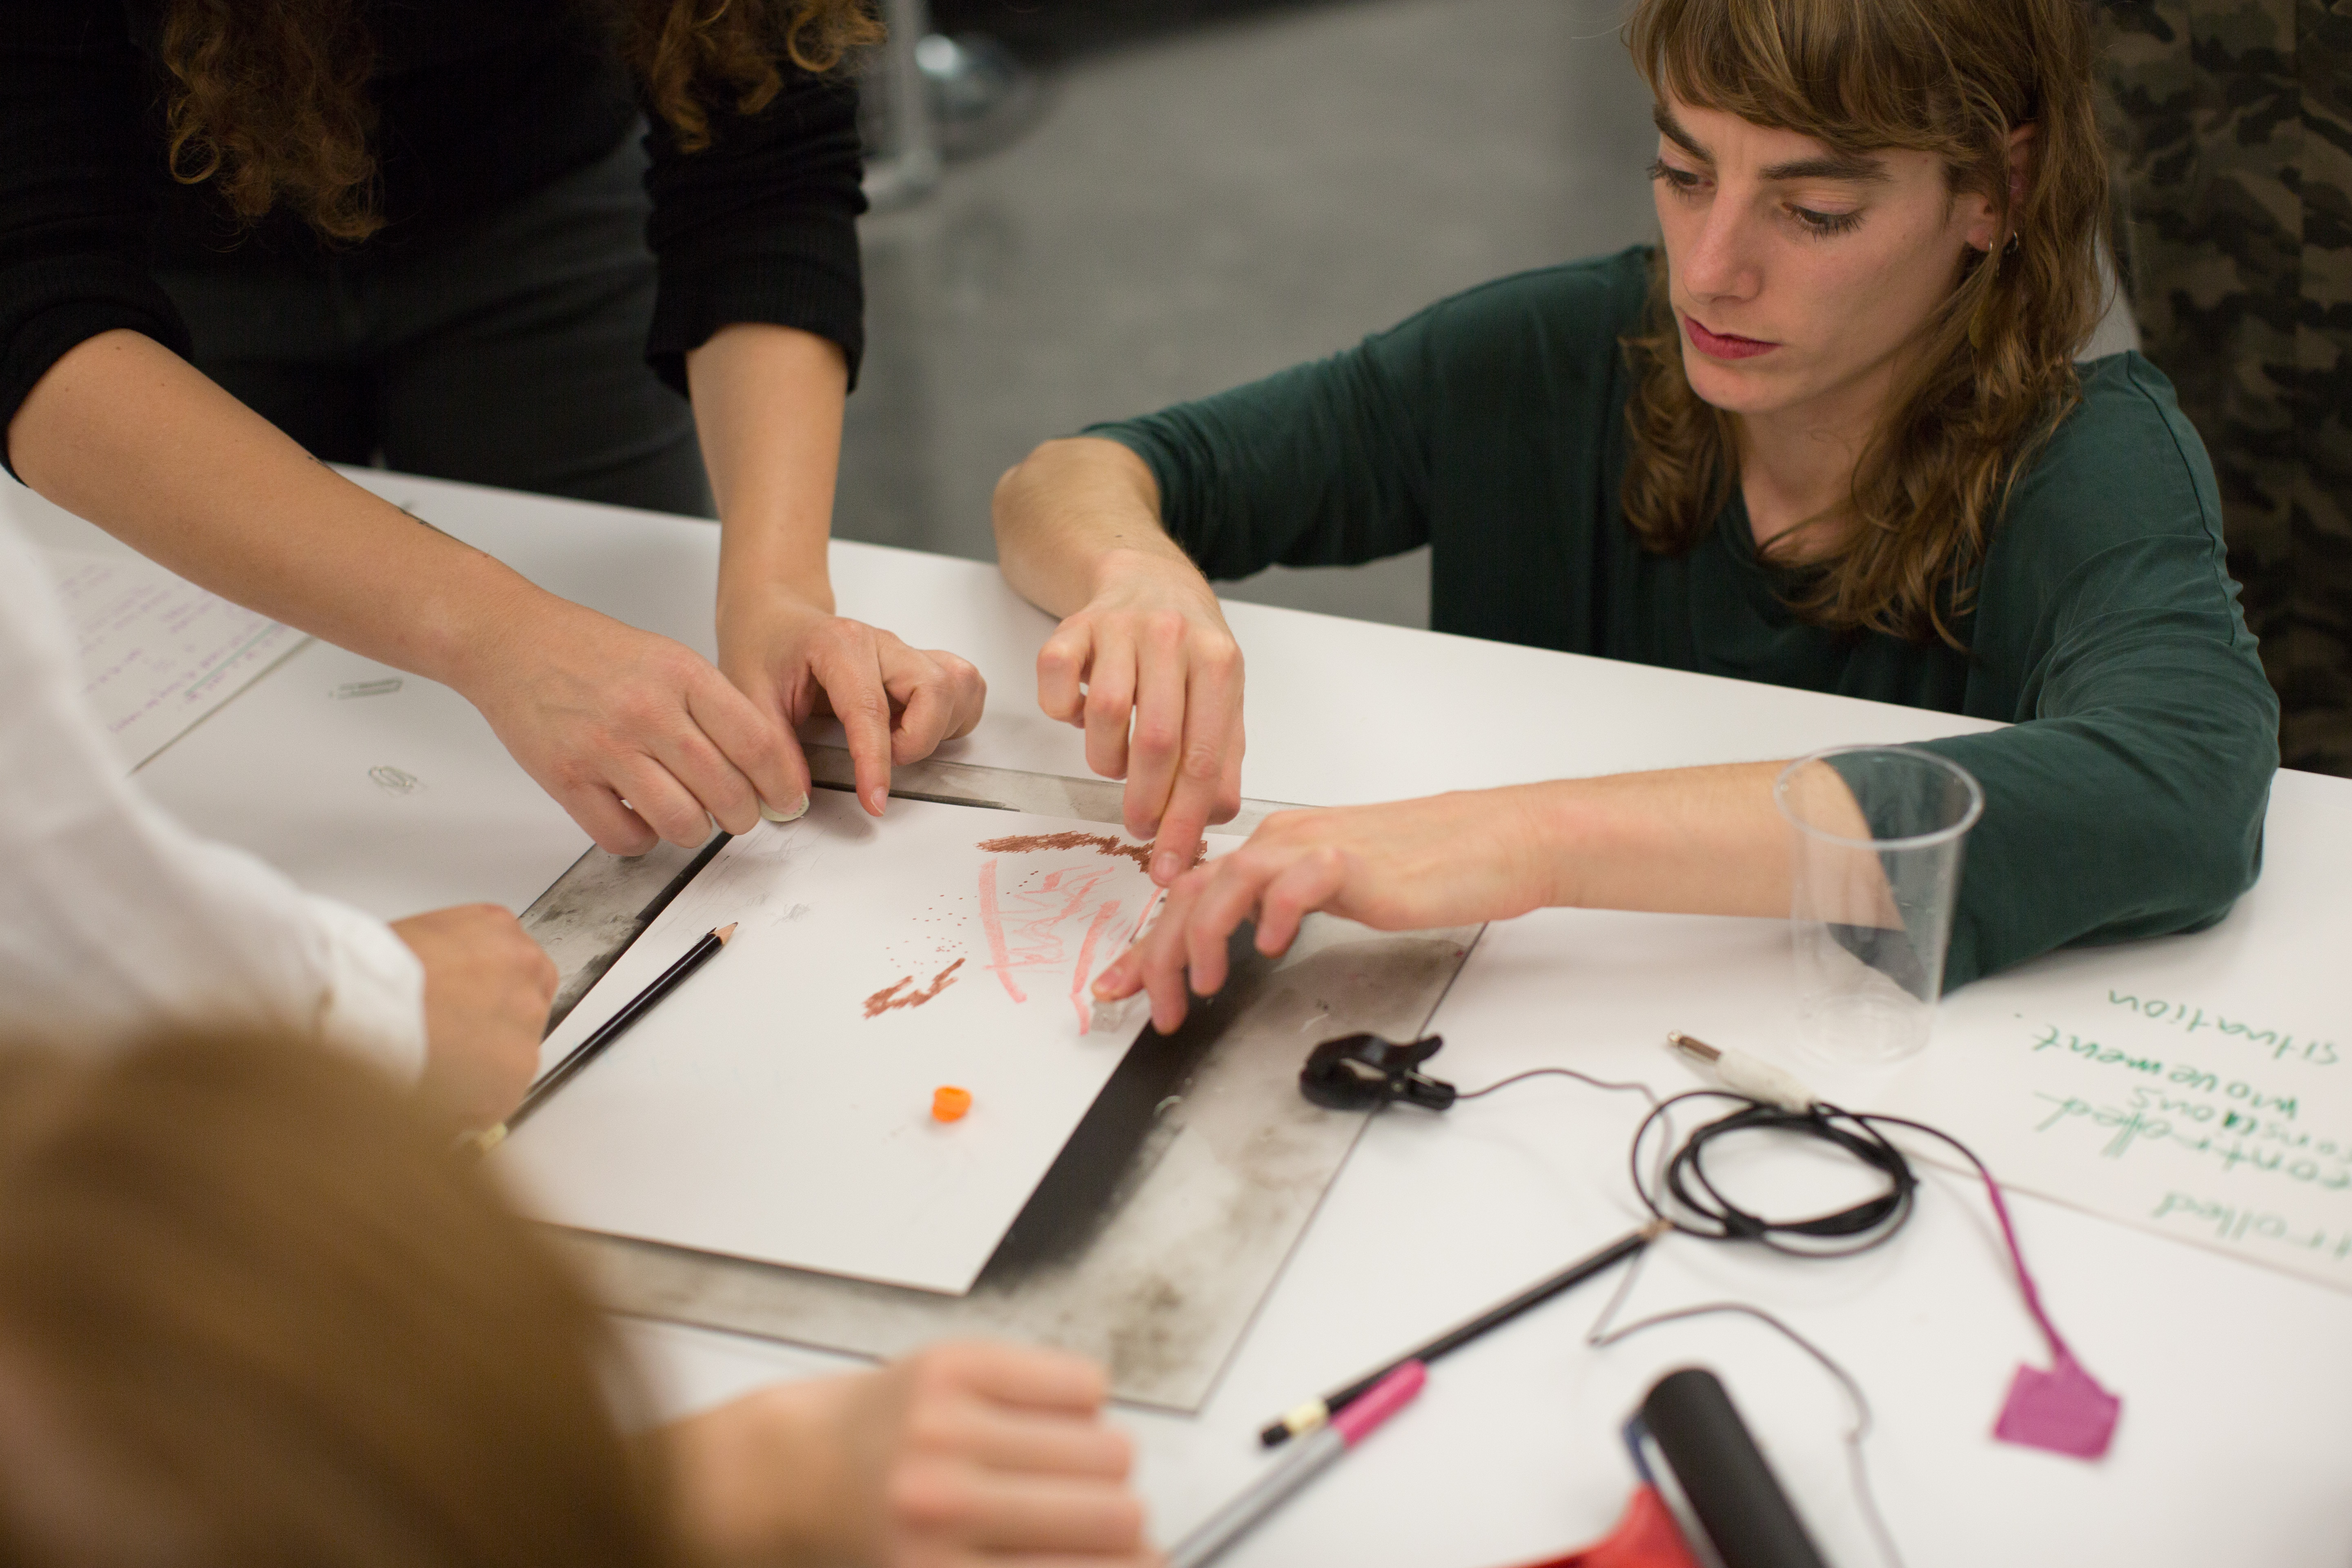
Choose one description to work with (this could be your own or someone else’s). We begin by taking the description of your potential word over to the sound/print stations where we then start to explore the shape and dynamics of the word starting with using gesture, touch, drawing and mark-making.
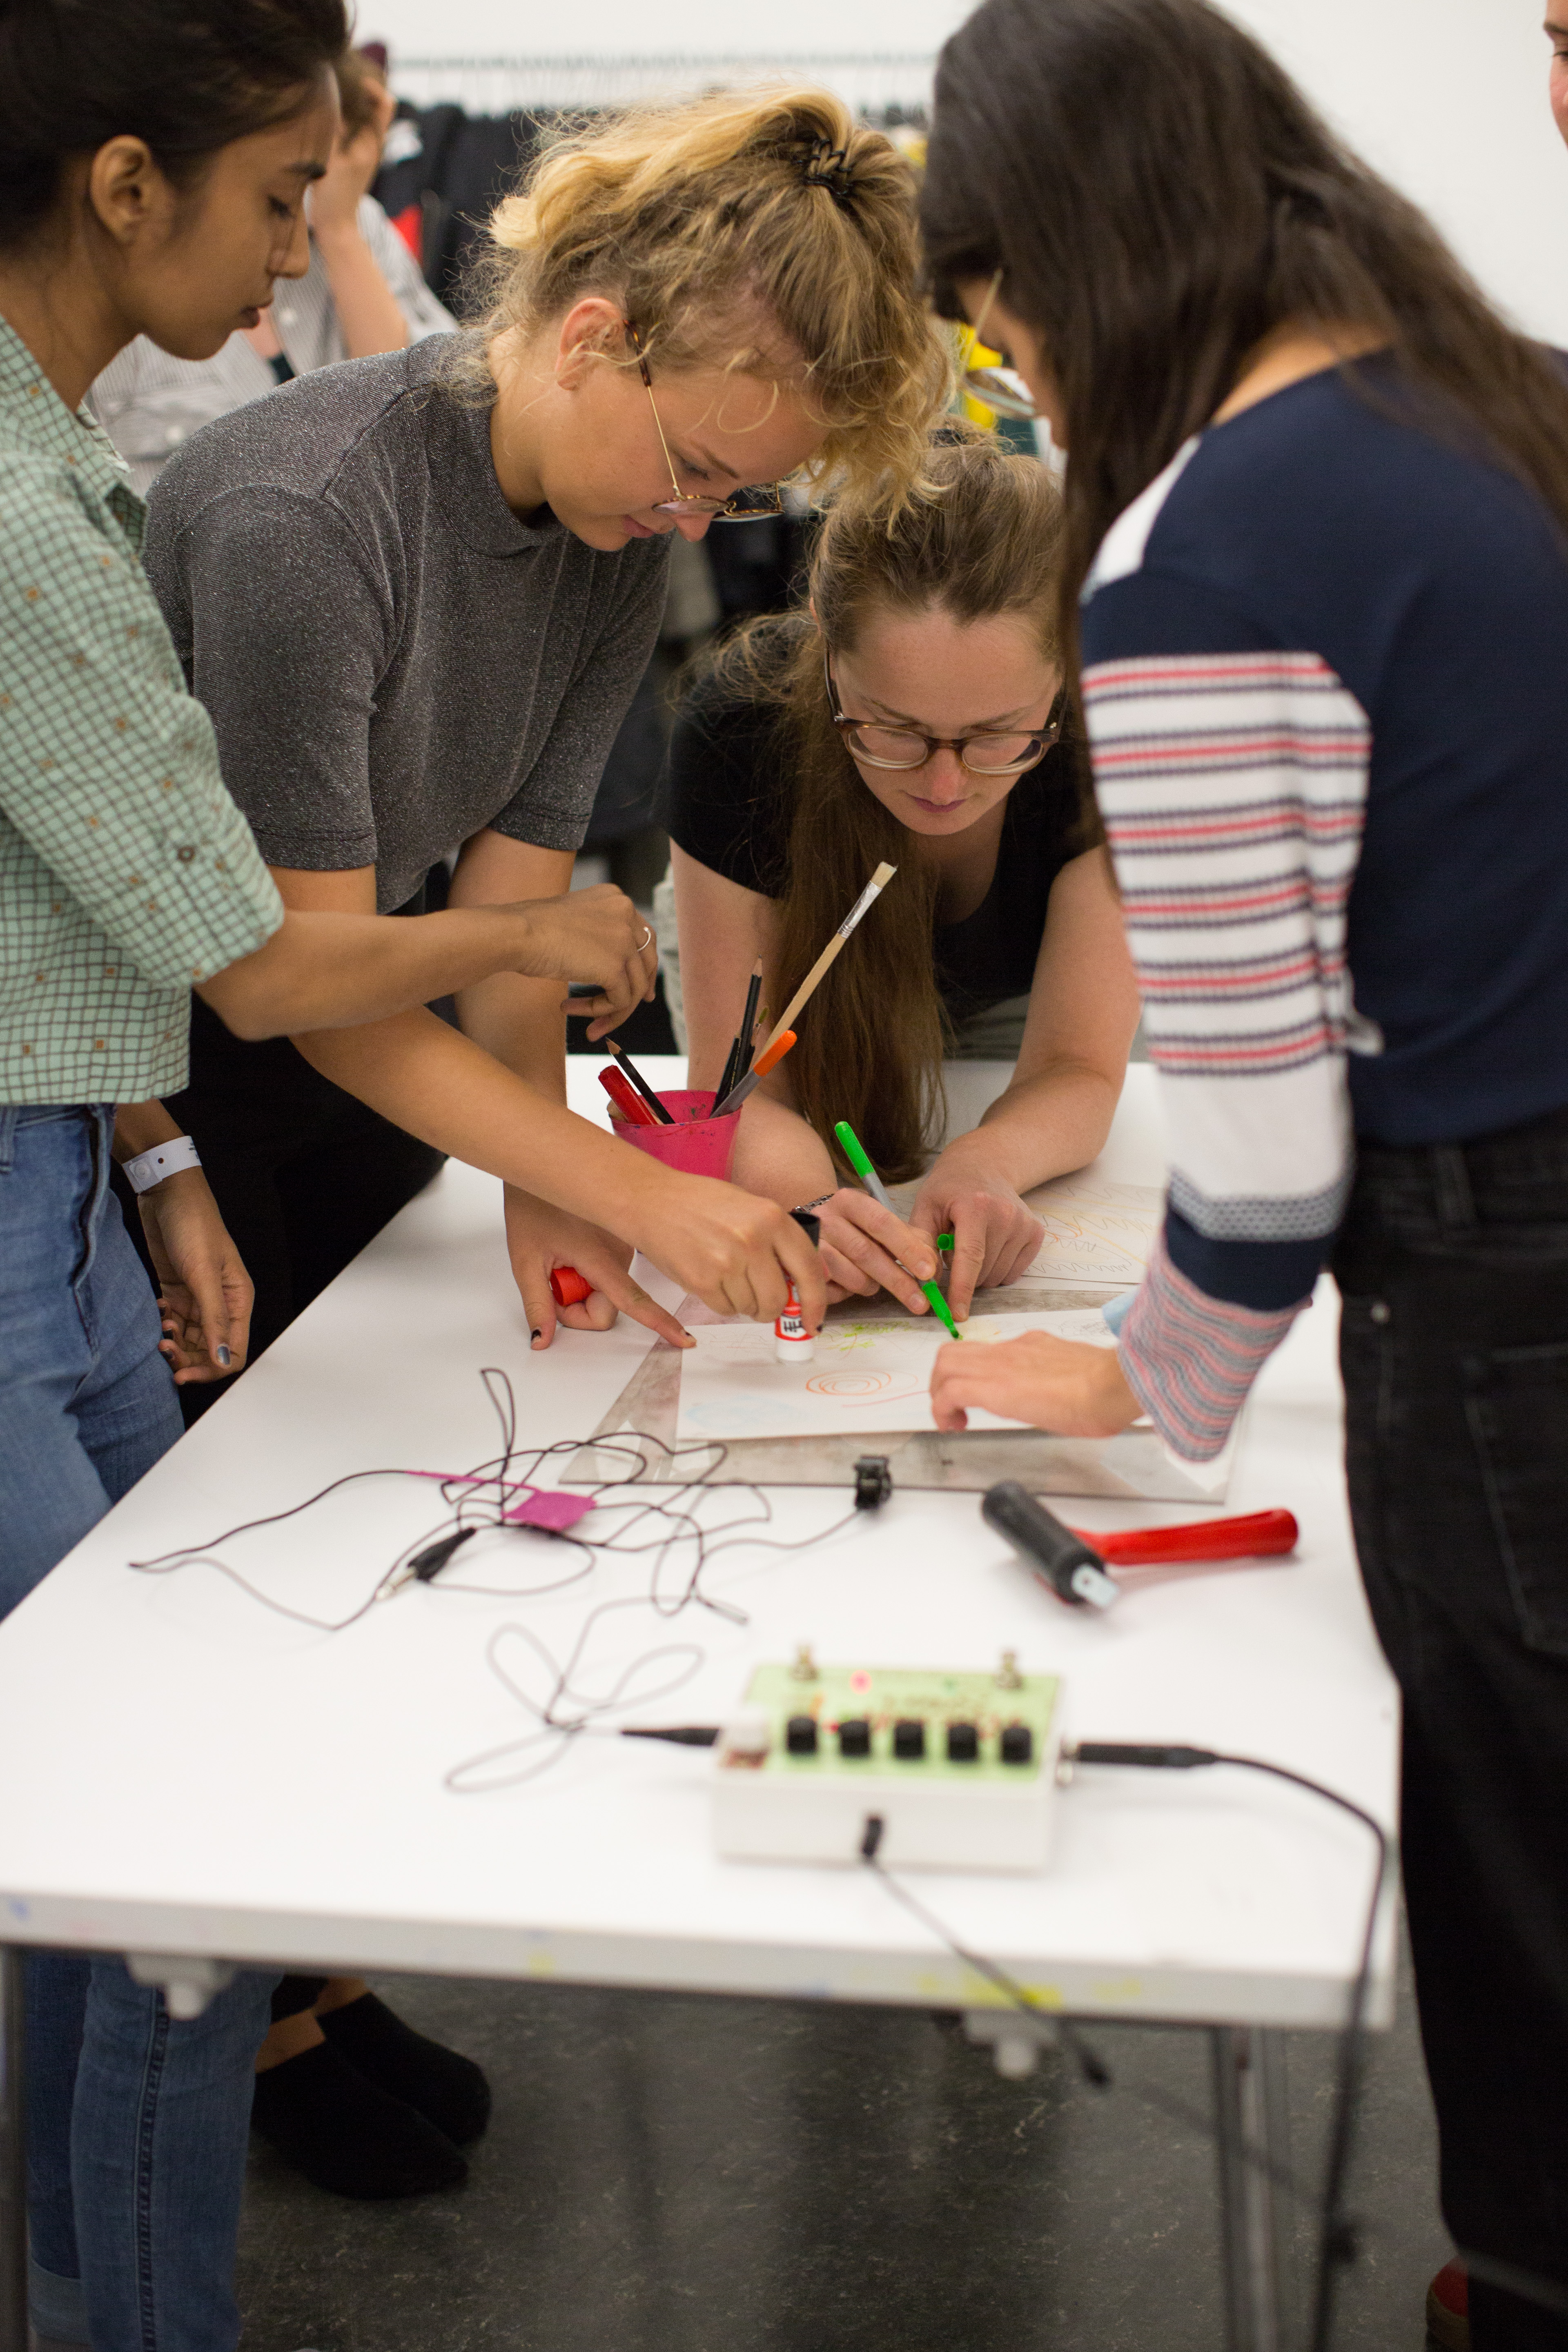
Thinking less about drawing/image making as an isolated visual but more about the physical connection to the sound it produces. We start to think about using our senses at the same time, looking and listening and giving each the same value and importance and finding the balance between the two. We do this through gesture and touch, making the sound a physical action and the drawing is a record of that action. Mono printing allows for every contact, gesture and mark to be documented and as it connects to a sound with the contact mic it is a visual record of all the sounds made.
Working as a group all the sounds play together in the first experiments - try to identify your own sound but also listening to sounds in the mix and adjusting the morphology of your word in relation to the shape of the whole. We are building a collective language, so how does your word fit into this new lexicon?
Practice drawing and listening at the same time until your word starts to take shape. Keep two separate piles for experiments and words. When your word starts to take shape you can practice and refine until it becomes comfortable, and you feel the rhythm of the sound and in the action of the movement within the gesture.
Bringing the workshop to a close, gather the group to listen as each participant shares their word. The sound can be recorded at this stage to create an archive of the new words created in this session.
Developing speechsounds
In longer workshops, or follow-up sessions, you might want to explore vocal sounds. Taking an uncased contact mic, put it to your throat or your mouth and start to replicate the sounds made during the drawing. Feel the shape and flow of the word as a speechsound and practice your word. The contact mic will only pick up vibrations. How does this affect the way you use your voice and the sounds you make with your mouth? Is there another way to think about how we create the sound of the word?
Contributing to the Potential Wor(l)ds dictionary
We are thinking of Potential Wor(l)ds as a shared archive, as well as an active working document, which can be a resource for the public as well as for our own future collaborative work. As part of this ongoing project, we want to encourage other versions of our workshop that will generate more words for our online dictionary.
To make a contribution, email Aliyah and Anna at potentialworlds@gmail.com. Please tell us where your workshop took place, and format images as JPEG and audio files as MP3.
You can also contribute potential words using #thereoughttobeaword on Instagram, or follow us @there_ought_to_be_a_word.
To make a contribution, email Aliyah and Anna at potentialworlds@gmail.com. Please tell us where your workshop took place, and format images as JPEG and audio files as MP3.
You can also contribute potential words using #thereoughttobeaword on Instagram, or follow us @there_ought_to_be_a_word.
Notes on materials and processes
Setting up the space
Workshop materials list:
- Non porous surface for printing (e.g. perspex)
-
80gsm paper or newsprint
-
Block printing ink
-
Ink roller
- Drawing tools (i.e. pencils, markers, chalk, pens)
-
Markmaking instruments (i.e. forks, comb, paperclips, household objects, objects made from different materials e.g. wood, metal, plastic)
-
Contact microphones
-
1/4 jack to jack cables
-
Guitar FX pedals (e.g. delay, multi fx, distortion, tremolo etc.) *
-
Guitar amp
-
Multi Channel mixer (if using more than one microphone) *
- Sound recording device (we used Zoom R16 and Zoom H4N but any phone can be used either in the voice recording setting or with video).
Set up each station with the following tools:
- 1x Perspex panel
- 1x Contact mic (attached to panel)
- 1x Set of drawing/markmaking tools
- 1x Stack of paper
-
2x 1/4 jack to jack cable (one for the FX pedal and one to go into the amp or mixer)
- 1x FX pedal
About contact microphones
A contact microphone, also known as a pickup or a piezo, is a form of microphone that senses audio vibrations through contact with solid objects. Unlike normal air microphones, contact mics are almost completely insensitive to air vibrations but transduceonly structure-borne sound. Contact mics amplify the object or surface they are placed onto and so allow for the sound within an object to be explored. A range of sounds can be achieved but the most distinctive sounds are from percussive action (tapping, touching) and from prolonged contact (scraping,scratching, flowing movement). The most commonly available contact microphone element is made of a thin piezoelectric ceramic round glued to a thin brass or alloy metal disc. This centre disc is positively charged while the brass disc is negatively charged. If the silver disc is cracked or scorched, the piezo will no longer function at full sensitivity.
There are two options for working with contact mics. You can use a mic that is within a casing (such as a clip mic used for amplifying an acoustic guitar) or you can make your own using a piezo element. Homemade mics are more sensitive but also more prone to feedback.
To buy contact mics with a plastic casing search for ‘acoustic pickup’. To make your own contact microphone you will need:
- Piezo element
-
1/4 jack to jack guitar cable
-
Wire stripper (optional)
-
Electrical tape
-
Scissors
-
Box cutter or craft knife
- Soldering iron and solder (optional)
Making your own contact mic:
- Cut off one of the jacks on your guitar cable so you have an exposed cable. There should be two wires inside, one exposed and one with wire casing around it.
- Strip back the cable using wire strippers or a craft knife. There will be two sets of wires inside the cable, one exposed and one within wire casing. Gather and twist the already exposed wire together into one bundle. Strip back the second wire to expose at least 1cm. Be careful not to cut or damage the copper wire inside.
-
If you are using solder then twist one wire from the contact mic and one wire from the guitar cable together and solder the join. Do this with both wires. If you are not using solder then strip back some of the plastic casing on the contact mic element to expose more metal wire and then you will have more available wire to twist together.
-
When you have made the connections either from soldering or twisting you then need to seal the connections with insulation tape. Using the tape wrap around the exposed wires making sure that no exposed wire from the alternate cable is touching the other.
-
Then tape together the two wires to reform the cable and adding stability to the connections.
Notes: The piezo elements are fragile and prone to breaking. Use insulation tape or hot glue to coat and cover the back of the element where the wire is soldered onto it. This will help to prolong the life of the element and stop the wires coming loose or the soldered connections breaking.
About guitar effects pedals
Contact mics are very basic electronic components and in a group setting they require extra amplification or a pre-amp in order to get the most effective sound. Guitar effect pedals can act as a preamp whilst also allowing for the sounds that are produced to be manipulated and distorted. Pedals that work well with the kind of sounds that can be made with contact mics include, delay or echo, tremolo, reverb and lots of different harmonic pedals can do interesting things to the sound.
About mono printing
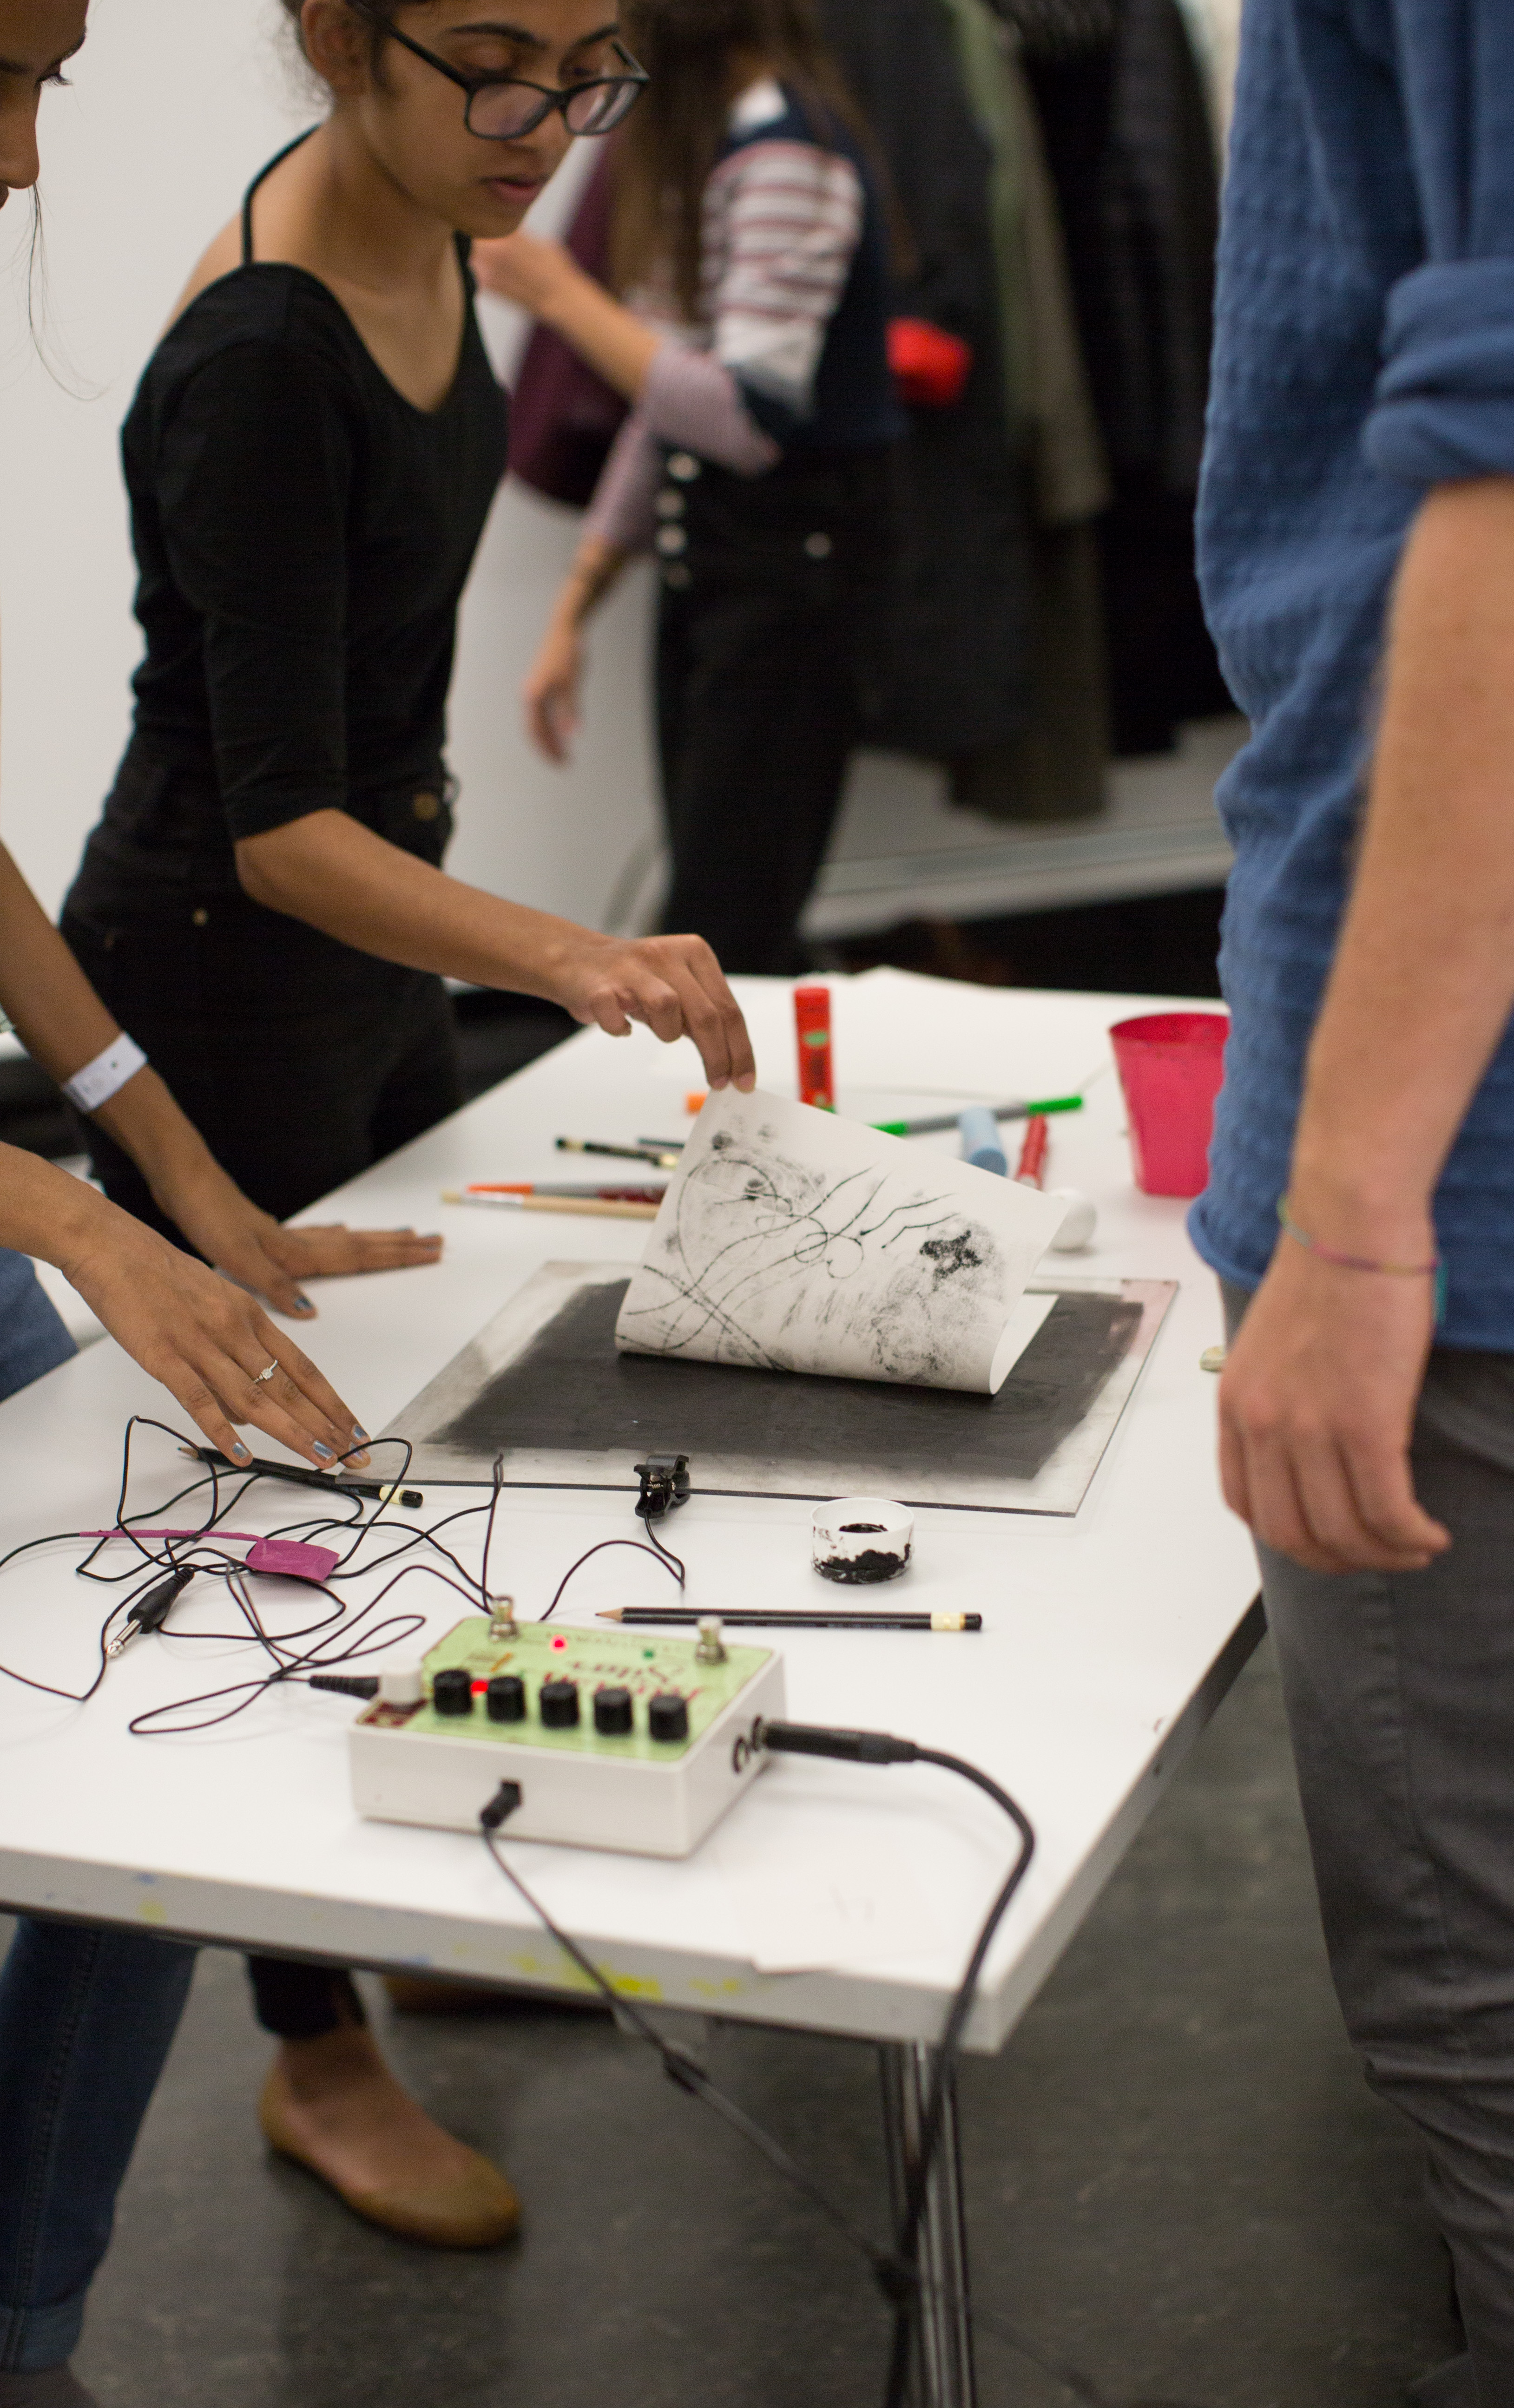
Using an ink roller and block printing ink cover the surface of the acrylic panel in a very fine layer of ink. If there is too much ink use a piece of paper to blot the excess. Too much ink results in detail being lost. Approximately 5 prints can be made before needing to re-ink the panel.
There are different ways to mono print but in this workshop we use a technique called direct trace drawing. Place a piece of paper down onto the ink and then using the tools, draw onto the paper. The marks made on the paper will be picked up in the ink and produce a print of each action. It’s a fairly quick process so don’t spend too long on each print as the paper will start to stick to the ink.
About cataloguing
Find a way to identify which descriptions / sounds / drawings belong to each other for cataloguing at the end of the session. It can be anonymous or with names/symbols as identifiers on each piece of paper. These symbols/names can be spoken at the beginning of each sound recording in order to pair up the prints and sound.
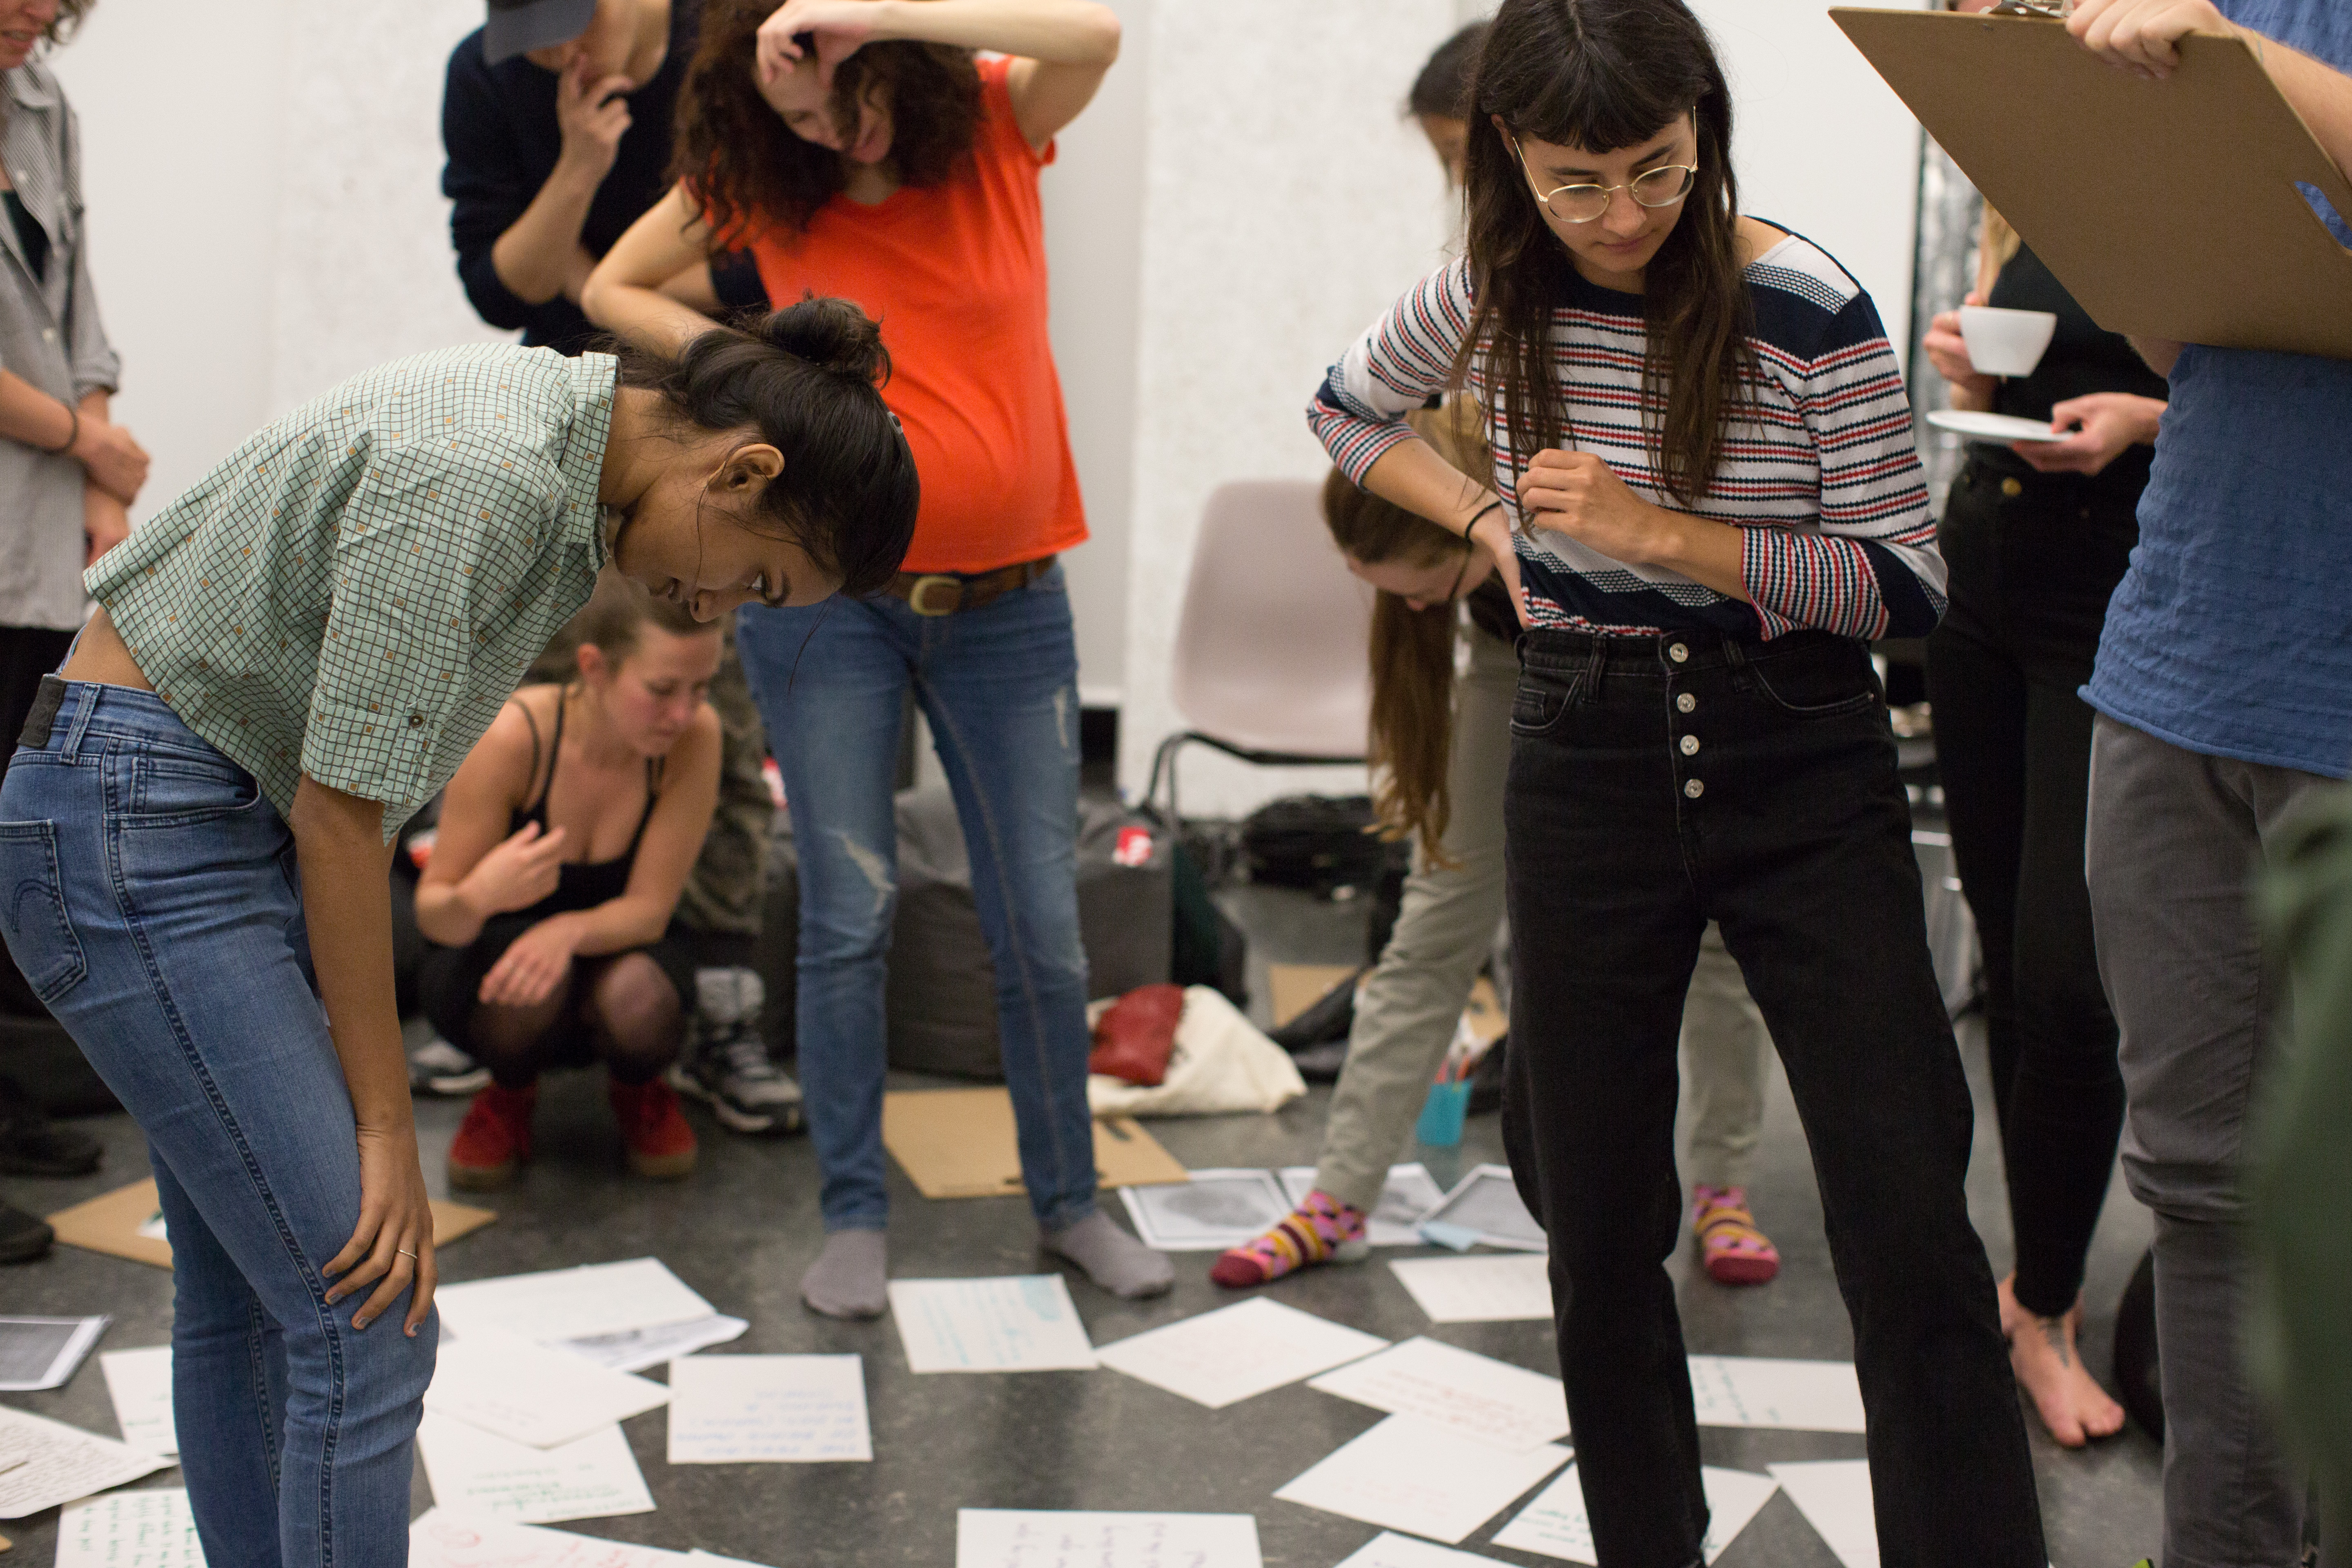
Workshop photos by Xin Li![]()
![]()